The OGC allows some flexibility to adjust the map symbols used in WMS layers. This is accomplished by referencing a chunk of XML called a Styled Layer Descriptor (SLD). An SLD describes all the symbol sizes, colors, and markers that should be applied within the WMS. SLDs are complex enough that they have their own OGC specification documents defining how they are supposed to operate.
SLDs can be designed by either the service publisher or the client. To formulate a really useful SLD, you have to know a little bit about the layers in the WMS. You can get this by calling the optional DescribeLayer operation on the WMS.
Once you've created the XML for your SLD, you can apply it in one of several ways. The most common way is to put the SLD in its own file on a web server somewhere, and reference the URL of that file when you make a GetMap request. There is an optional SLD parameter in the GetMap request that you can use for this very purpose. Another way is to use the optional SLD_BODY parameter of the GetMap request and just provide the relevant chunk of XML directly in the URL of the request. This obviously can create long and unwieldy URLs, and requires a lot of special character encoding or escaping.
The XML used with SLDs can get verbose and tends to contain many nested levels. Because of this, it's unlikely that you'll sit down to compose an SLD from scratch. Instead, you'll probably start with a sample and adjust it to meet your needs. Alternatively, you can use the GUI environment from QGIS to style a layer and then save it out as an SLD.
Both approaches (starting an SLD from an existing sample and exporting an SLD from QGIS) are covered in the lesson walkthrough.
SLDs and GeoServer
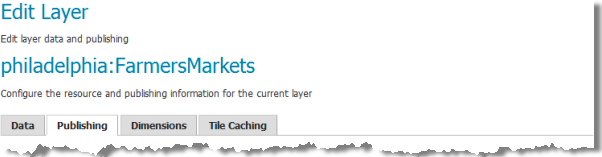
GeoServer maintains your data information and your style information completely separate. In the Layers page you define what datasets you want to serve, and in the Styles page you define all the SLDs you want available. The Publishing tab of the Edit Layer page is the (somewhat obscure) place where you connect the dots and define which style will be applied to your layer.
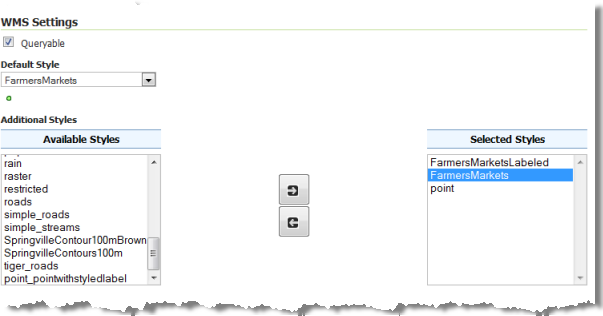
In the above graphic, the GeoServer administrator has examined the pool of all styles added to GeoServer (left) and selected three of those (right) to be available for use with the FarmersMarkets layer. The WMS will advertise these three styles for the layer and will use the one called FarmersMarkets if the user does not specify a different style in the STYLES parameter of the GetMap request.
The examples below are not functional, but they show you the URL structure for requesting different styles.
GetMap request that uses the default style ("FarmersMarkets"):
http://localhost:8080/geoserver/philadelphia/wms?service=WMS&version=1.1.0&request=GetMap&layers=philadelphia:FarmersMarkets&styles=&bbox=-8377237.031452011,4854963.883290707,-8357515.816574659,4877579.355521561&width=446&height=512&srs=EPSG:3857&format=image%2Fpng
GetMap request that overrides the default style and uses the style named "point" instead:
http://localhost:8080/geoserver/philadelphia/wms?service=WMS&version=1.1.0&request=GetMap&layers=philadelphia:FarmersMarkets&styles=point&bbox=-8377237.031452011,4854963.883290707,-8357515.816574659,4877579.355521561&width=446&height=512&srs=EPSG:3857&format=image%2Fpng
Notice that the latter URL includes styles=point, indicating that GeoServer should use the SLD named "point" to draw the layer. Alternatively, the user could have specified styles=FarmersMarketsLabeled.
Required reading
Before you move on, please read the following pages of GeoServer documentation. This contains general information about SLDs, technical notes about how SLDs are applied in GeoServer, and a set of example SLDs that you can use to get started when it comes time to make your own. You'll get some practice with this technology during the walkthrough, but it is well worth your time to become familiar with this particular section of the documentation. In fact, it might be wise to read it both before and after you complete the walkthrough in order for you to confirm your learning and absorb the maximum amount of information.
- Introduction to SLD
- Working with SLD
- SLD Cookbook
- Three or four examples of your choosing from the SLD Cookbook