Section One: Create a Map of University Park Campus
Section One: Create a Map of University Park Campus
Introduction
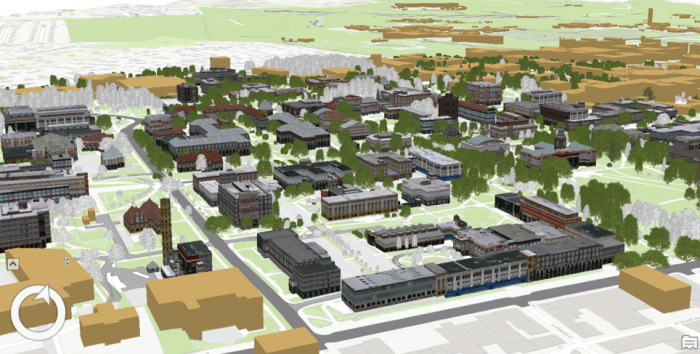
The first step into 3D modeling using ArcGIS Pro is making a map. First, you will create a project. Then you will add necessary data to your map where you have all the tools you need. Then, you will explore the University Park Campus with navigation tools and bookmarks. This 3D model of the University Park Campus will be the final result of this lesson.
1.1 Start a Project
1.1 Start a Project
If you do not have ArcGIS pro installed on your computer, please install it before continuing.
The first step in making a map is creating a project, which contains maps, databases, and directories.
- Start ArcGIS Pro 2.7
 Credit: 2021, ArcGIS [2]
 - Sign in using your licensed ArcGIS account. See this link [3] for how to sign in using the Penn State account.
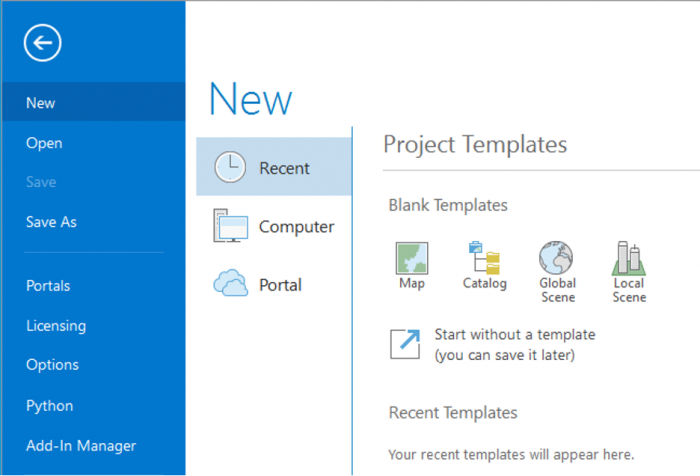
- When ArcGIS Pro opens, you can see a list of project templates under the heading “Create a New Project”. If you have created projects before, you can also see a list of your recent projects.
Project templates are useful in creating a new project because they have aspects of ArcGIS Pro that are important including folder connections, access to databases and servers, and predefined maps.
A Blank template starts a new empty project. It means you won’t have the aspects mentioned above and will start from scratch to build your project. Scene views are for 3D map presentations. Global Scene is a useful template when your data is best represented on a globe. A Global Scene creates a project based on ArcGlobe (part of 3D Analyst extinction of ArcGIS for Desktop). Local Scene is useful for a small area to perform analysis or edit. It is similar to ArcScene in ArcGIS for Desktop. The Map template is suitable for creating a 2D map for your project. It creates a geodatabase in the project folder.[1]
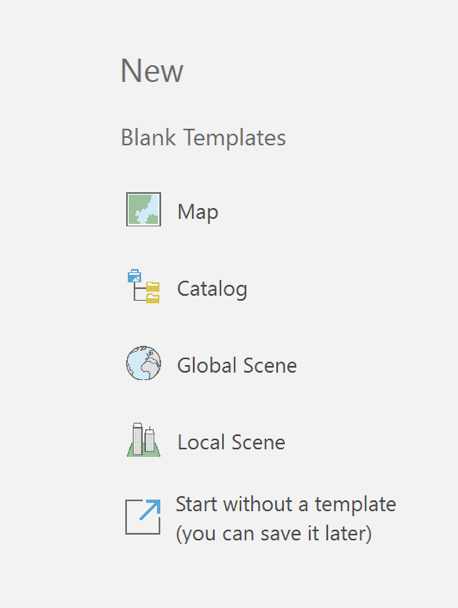
- Click on Map under ‘New’. The Map template is suitable for creating a 2D map for your project. Other templates are for 3D maps. Selecting Map.aptx will let a new window appear: Create a New Project.
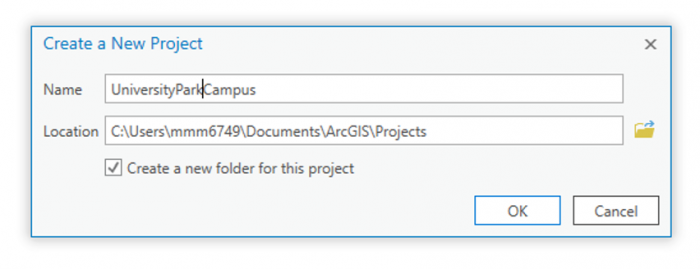
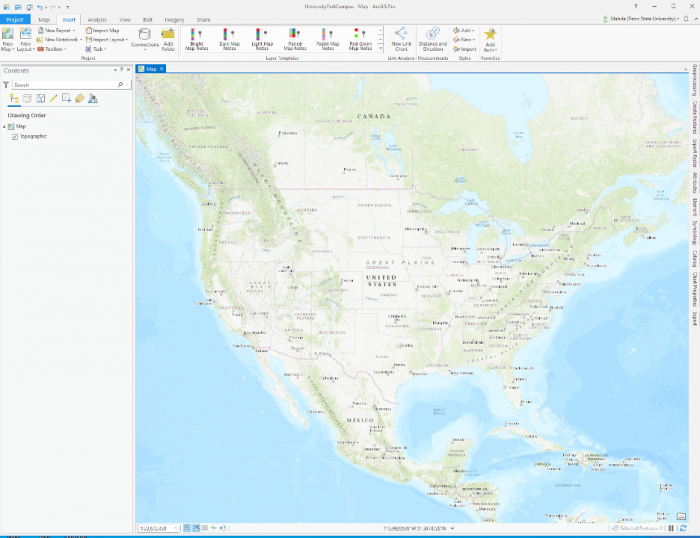
- Name the project “UniversityParkCampus”. By default, the project will be saved to the C: Drive where the ArcGIS folder is located. Change the location if desired.
 Credit: 2021, ArcGIS [2]
 - Click OK. The project opens and displays a map view.
 Credit: 2021, ArcGIS [2]
[1] For more information on project templates: (1) ArcGIS Pro [4], (2) GISP, Tripp Corbin. 2015. Learning ArcGIS Pro. Community Experience Distilled. Packt Publishing: P. Accessed September 22, 2016. http://lib.myilibrary.com?id=878863 [5].
1.2 Add Data to the Map
1.2 Add Data to the Map
To explore Penn State’s University Park Campus, you need data. Download the data [6]. You can save the data package on any location on your computer. Please make sure to unzip the file. It is highly recommended that you save data in the project folder you created before, UniversityParkCampus. The reason is that if you have to move to a different computer, saving everything in your project folder will avoid (most likely) issues with connecting data to your project.
Note: ESRI ArcGIS software is sensitive to the change of data location. If the location address is changed compared to where the addresses are stored in the project, you have to re-link data.
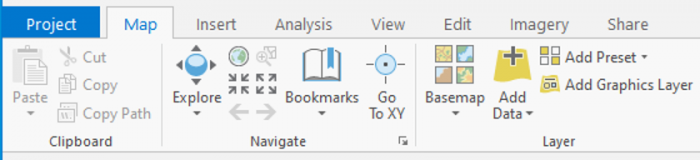
- Go back to the ArcGIS Pro project. At the top of the page, a ribbon is located. Click on the map tab. In the layer group, click on Add Data.
 Credit: 2021, ArcGIS [2]
The Add Data Window will open. You will have three options for finding data: (1) the project folder, (2) portal (online), and (3) my computer.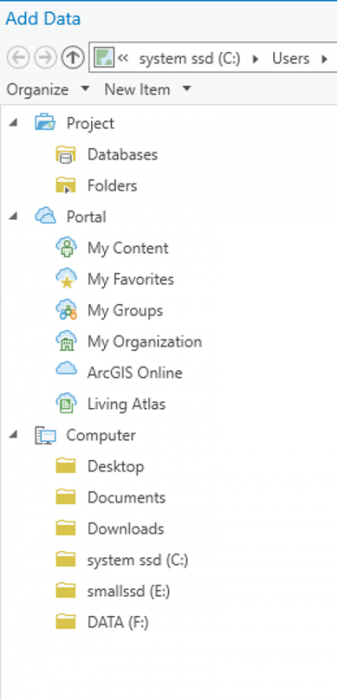 Credit: 2021, ArcGIS [2]
 -
In the pane of the window, under my computer click on the folder that you have saved the data files in. If you have used the default location for saving the project (C:\Users\Yourname\Documents\ArcGIS\Projects), the geodatabase is inside the UniversityParkCampus folder.
-
Go inside the geodatabase and Double-click the following layers to add them to the map: UP_BUILDINGS,UP_Major_Roads, UP_Minor_Roads, UP_Sidewalks, and UP_TREES.
Attention: if you go to the project folder you can see that a geodatabase named exactly as your project has been created: “UniversityParkCampus.gdb’.This is the geodatabase that you will use for saving the results of the analysis. The geodatabase that we have given you (Lesson5.gdb) contains external data prepared for you to start.
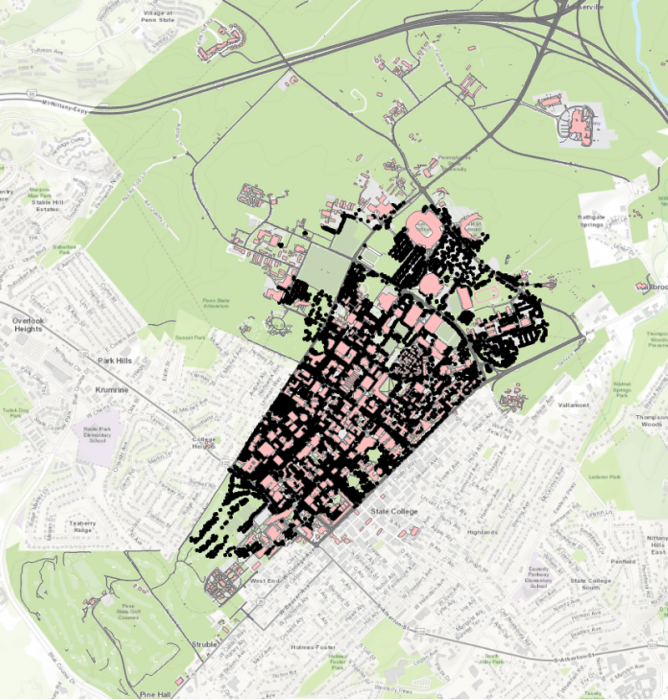 Credit: ChoroPhronesis Lab [1]
The map will center on the University Park campus in State College, PA.
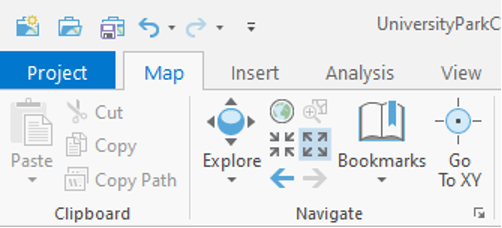
1.3 Navigate the Map and Create Bookmarks
1.3 Navigate the Map and Create Bookmarks
Before we focus on symbolizing the layers and improve the map, you will learn how to navigate the map and create bookmarks to quickly return to key areas.
- On the top of the page, a ribbon is located. On the Map tab, in the Navigate group, click the ‘Fixed Zoom Out’ button. The map zooms out a fixed distance.
You can also zoom by positioning your mouse pointer in the map window and using the mouse’s scroll wheel.
 Credit: 2021, ArcGIS [2]
 - Zoom out until you see the entire campus area.
- In the map tab, in the Navigate group, click the Explore button.
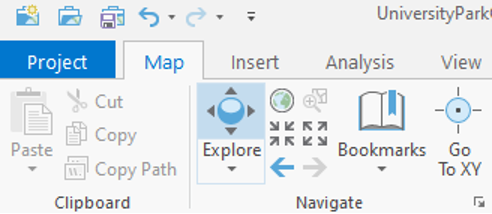 Credit: 2021, ArcGIS [2]
 - Click and drag the map to pan to the west side of campus where the IST (Information Sciences and Technology) building is located.
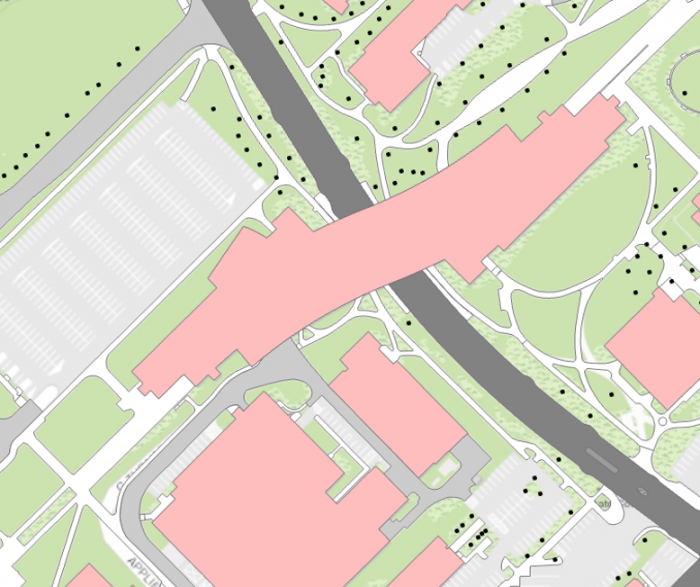 Credit: ChoroPhronesis Lab [1]
 - Pan back to the center of the University Park campus.
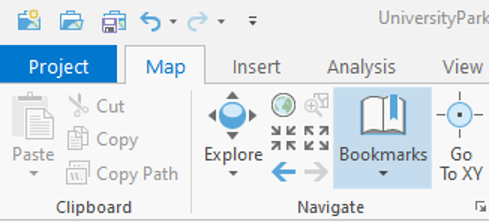
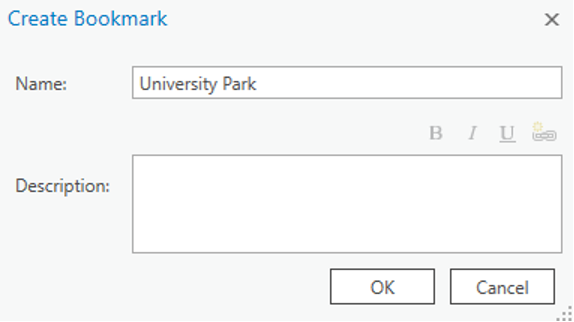
Now, you will create bookmarks to quickly and efficiently navigate to points of interest. - In the Map tab, in the Navigate group, click the bookmarks button and choose a new Bookmark.
 Credit: 2021, ArcGIS [2]
 - Type University Park for the Bookmark Name. Click OK.
 Credit: 2021, ArcGIS [2]
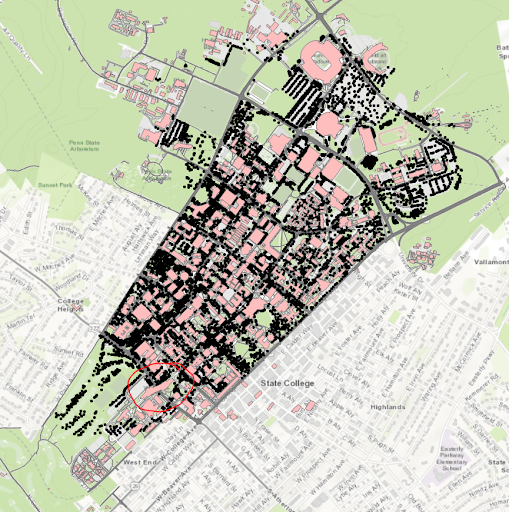 Credit: ChoroPhronesis Lab [1]
 - Zoom back to the IST building highlighted below. To zoom to a specific extent, press and hold the Shift key and draw a box around the area on the map.
 Credit: ChoroPhronesis Lab [1]
 - Bookmark the IST building. Name the bookmark IST.
- Click the Bookmarks button and click the University Park bookmark.
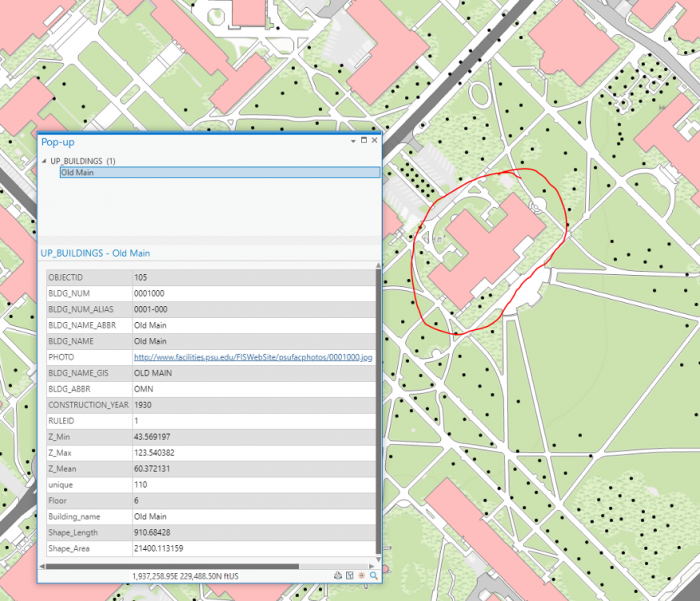
- Click on the building pictured below to open a pop-up window with additional information.
Every feature has a pop-up window. By default, a pop-up displays the attribute data of the selected feature. The above example includes the building’s name and its construction year.
 Credit: ChoroPhronesis Lab [1]
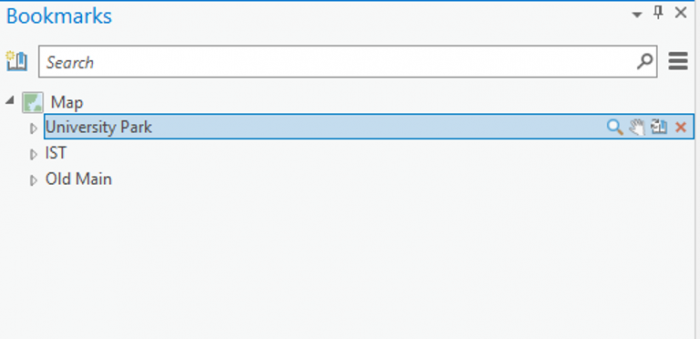
 - Bookmark this building and name it Old Main. You can also access the Bookmarks pane on the right side of your map to get an overview of the bookmarks you created.
 Credit: 2021, ArcGIS [2]
 - Click some of the buildings to learn about the data. You can find the Geography Department and the Hub and bookmark them for practice.
- Return to the University Park bookmark. In the Quick Access Toolbar at the top corner of the ribbon, click the Save button to save your project.
 Credit: 2021, ArcGIS [2]
In the next lesson, you will learn about data symbolization and editing.