Exporting from SketchUp into Unity
Exporting from SketchUp into Unity
Unity allows for importing 3D models in different formats. Typically the files with the 3D models can be simply put into the Assets folder (or some subfolder of the Assets folder) of a project and then Unity will discover these and import them so that they show up under Assets in the project. Until very recently, there was no support to directly import SketchUp .skp files into Unity and, therefore, 3D models had to be exported from SketchUp in a different format as shown in the figure below.
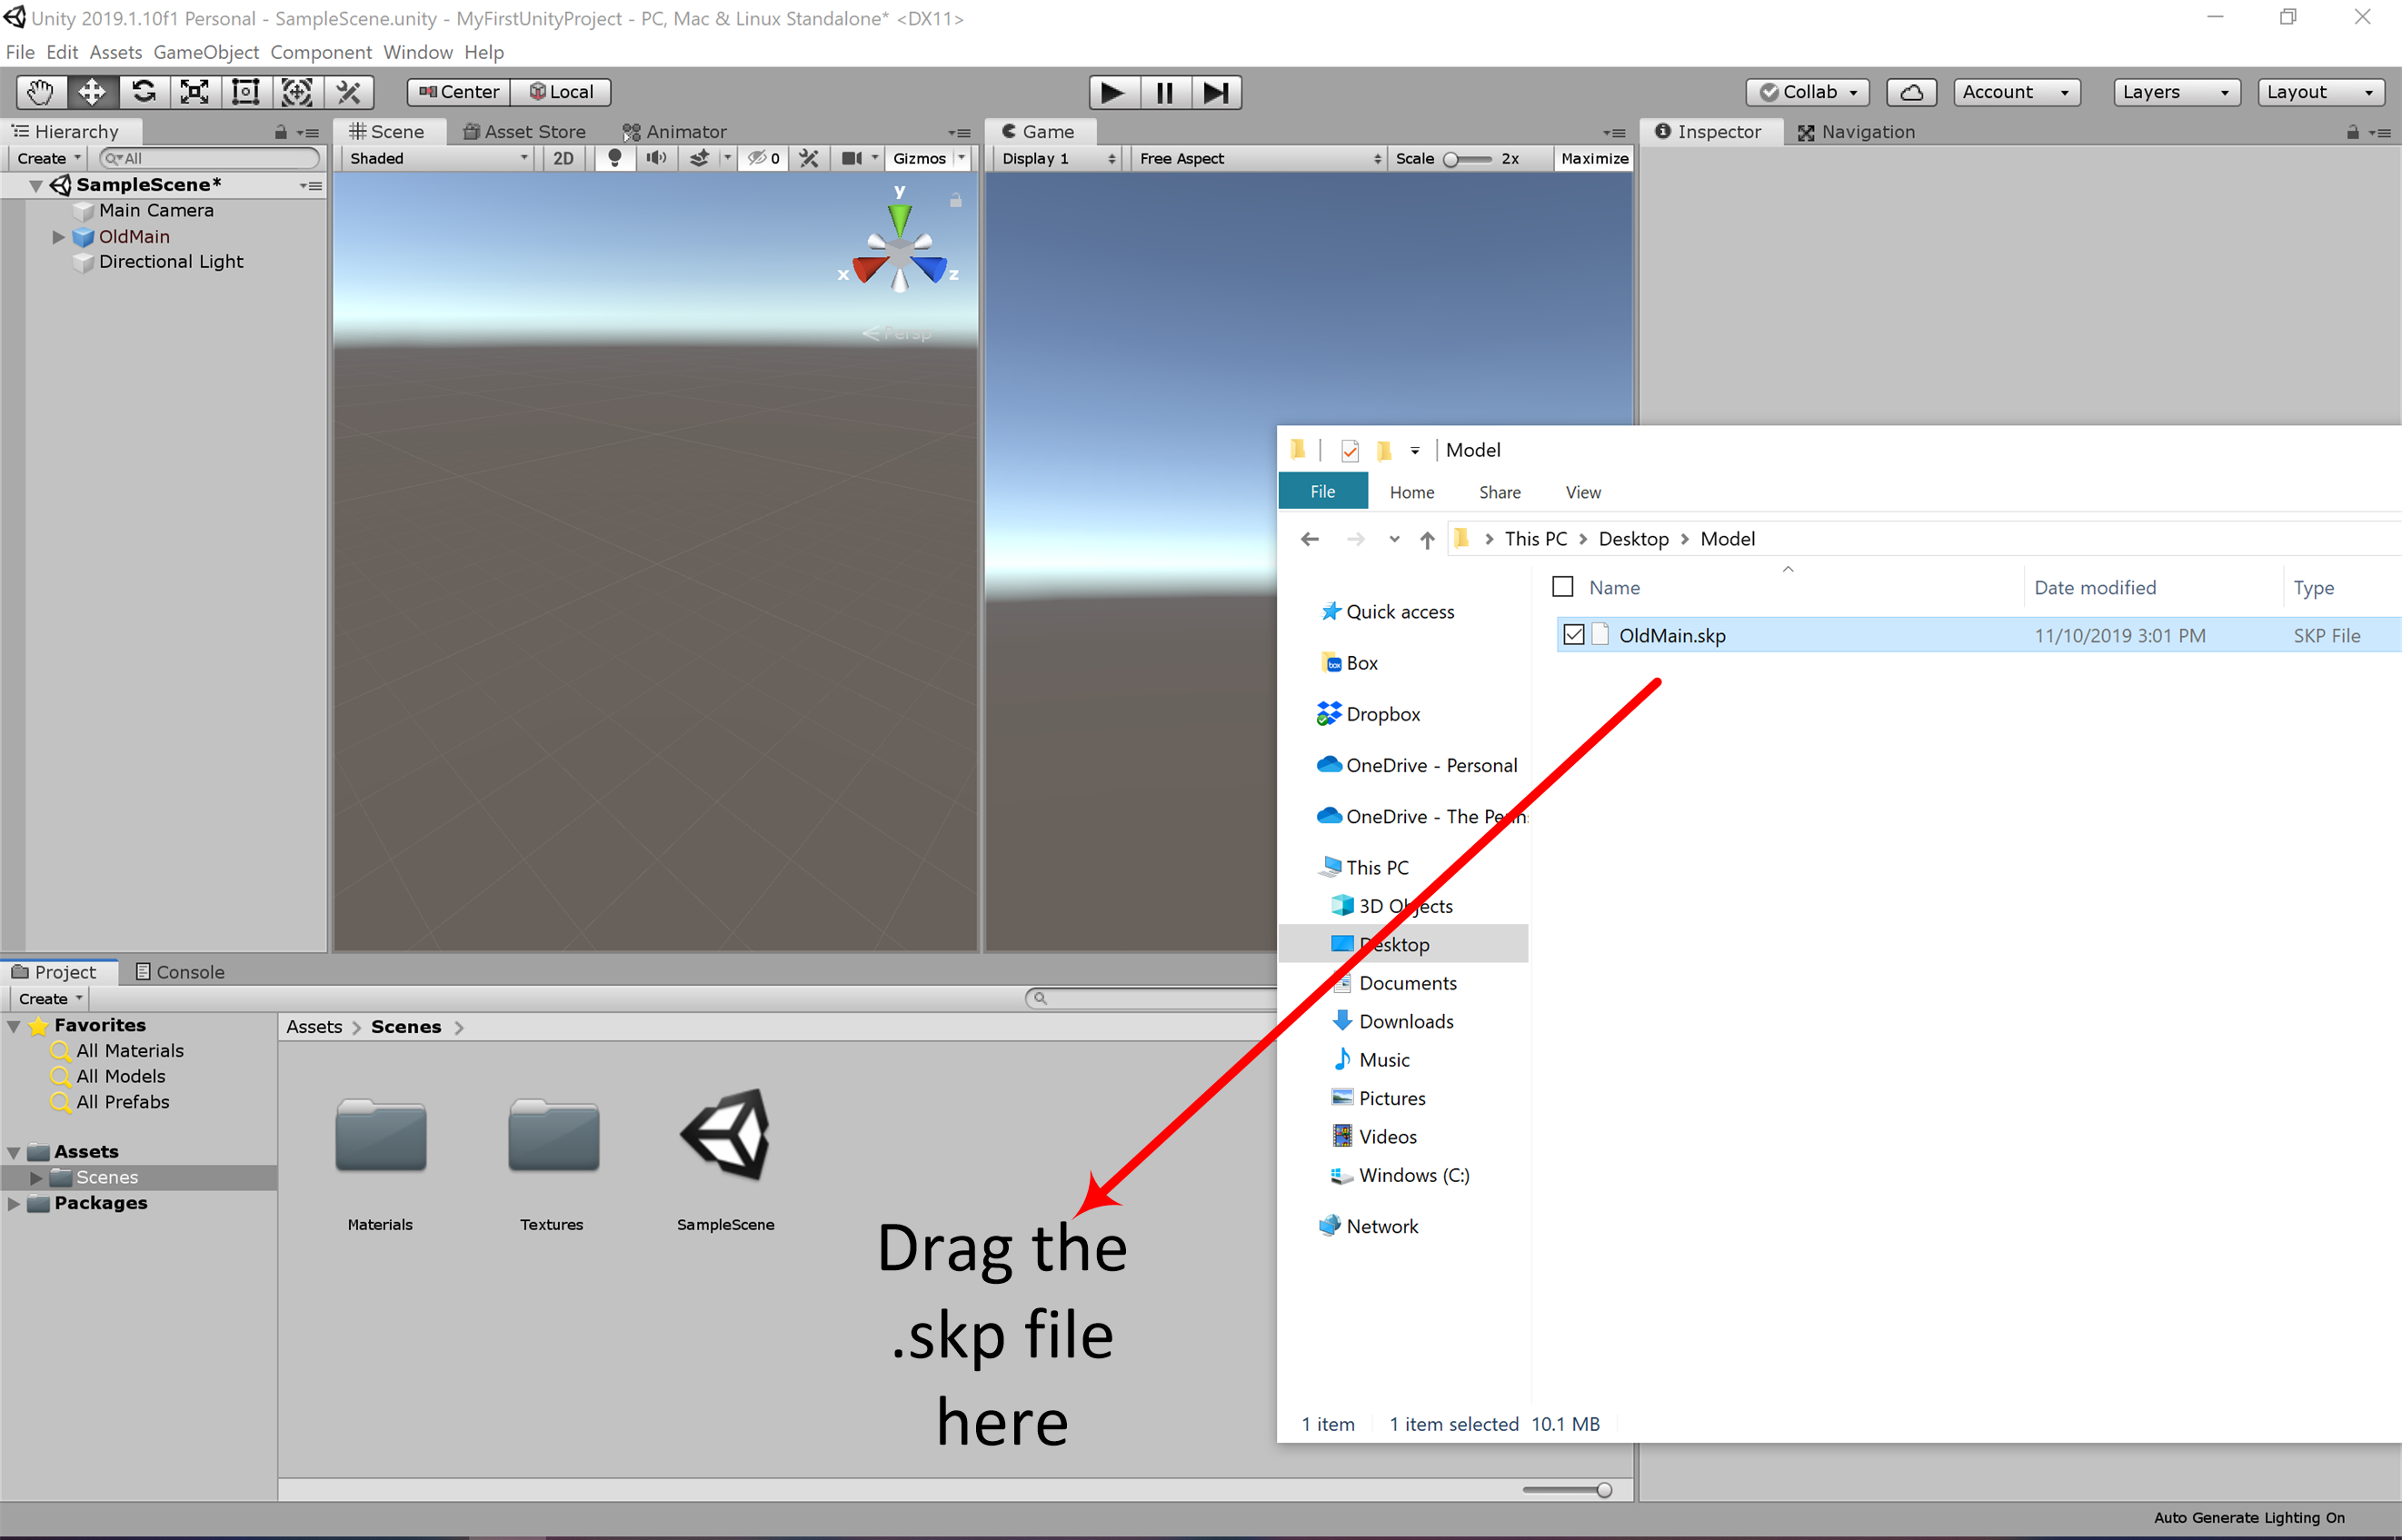
However, direct import of SketchUp .skp files is now possible. So we are simply going to put the downloaded .skp file into the Assets folder. Before that, please make sure that neither Unity nor SketchUp are currently running! Then perform the following steps:
- 4.1 Copy the downloaded file OldMain.skp into the “Assets” folder under “…Documents\UnityProjects\MyFirstUnityProject” (adjust the location where you have saved your project if it's not in Documents)
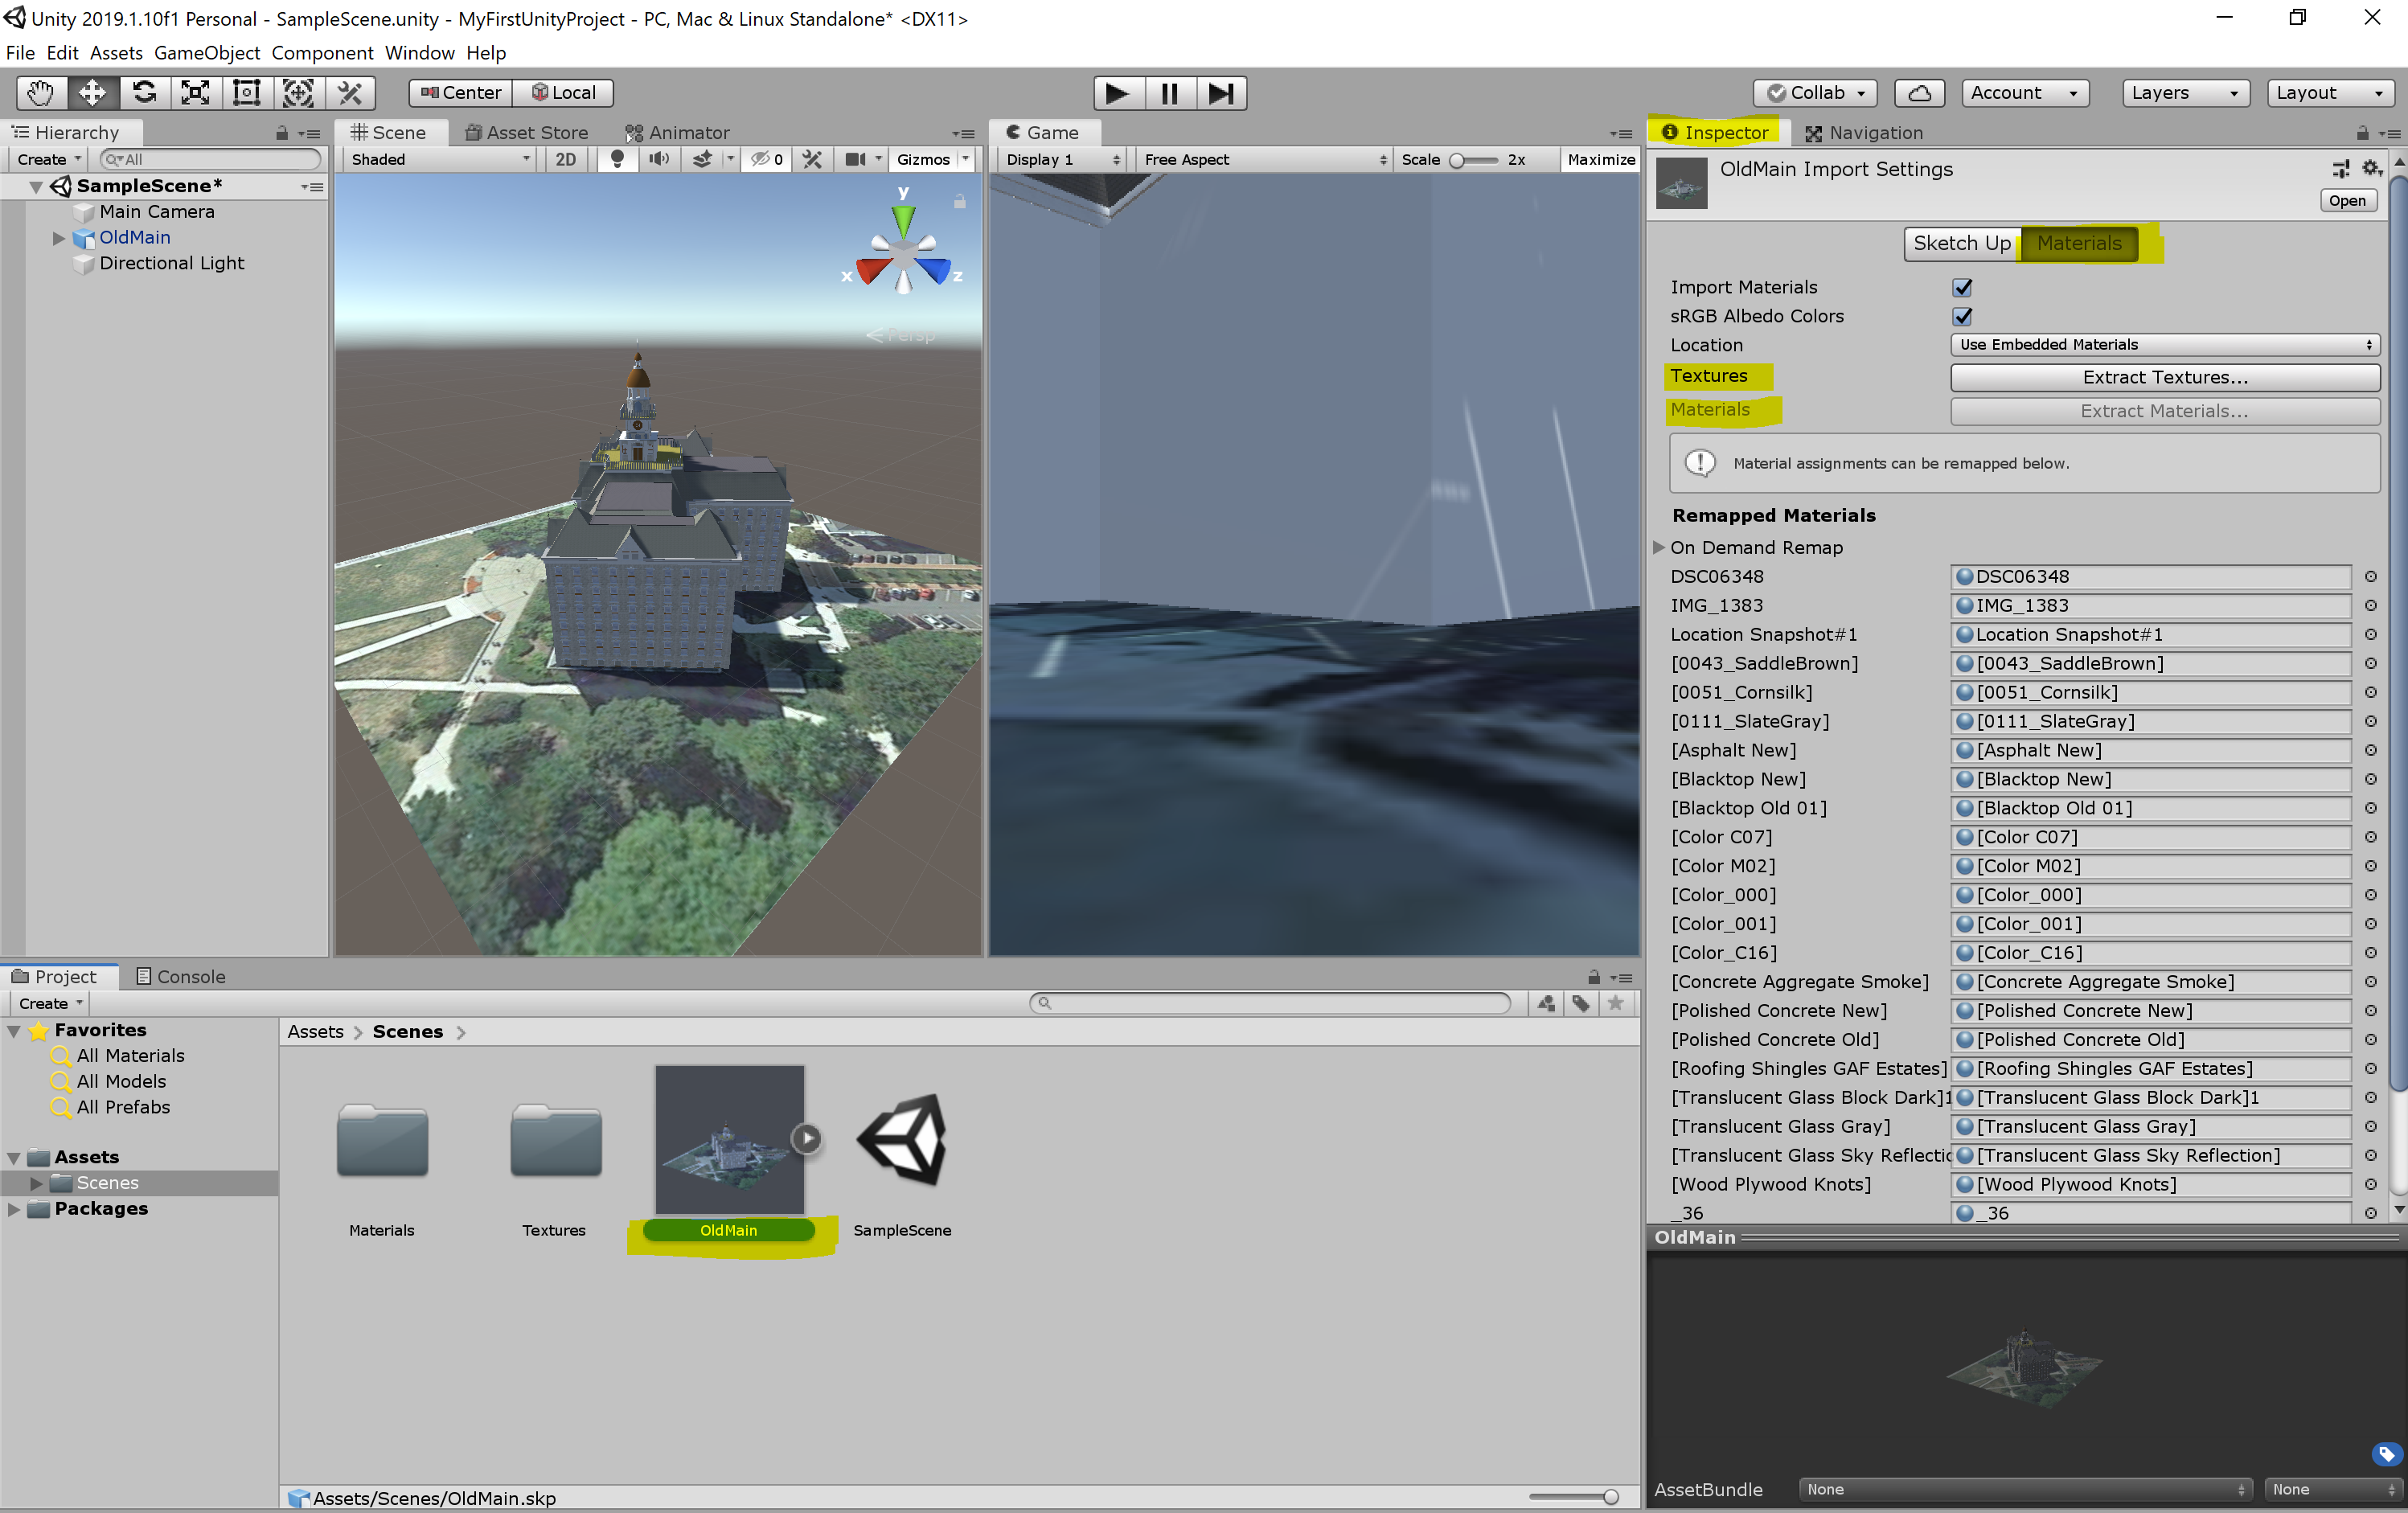
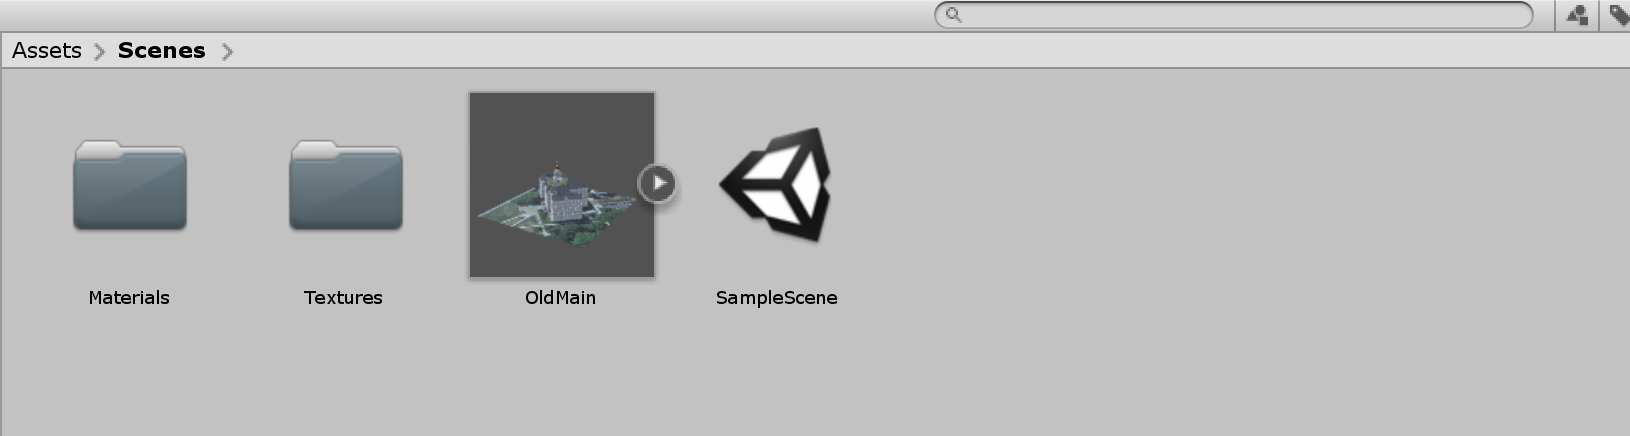
- 4.2 Start Unity again and open the “MyFirstUnityProject” project. Unity will immediately recognize the new file in the Assets folder and import it. If you look in the Assets pane of the Project Window, you will see that several things have been added there in addition to the SampleScene. The two folders called “Materials” and “Textures” contain the components required to render the Old Main model. The asset for the Old Main 3D model itself will appear under the name “OldMain” as an icon with a little arrow on the right side. Selecting it will show a preview and settings for importing the model into the Scene in the Inspector Window.
If the above method does not work for your case, you can always simply add the skp model into the editor by dragging and dropping it into the folder structure. You may have noticed that the Building object we have imported looks rather dull and is missing lots of textures and materials. To fix this problem, we need to extract all the materials and textures from the prefab of the model so that Unity knows how to map them. Select the prefab of the model you have imported into your folder. You can see that in the inspector menu it is detected that this is a SketchUp model, but all the materials for the individual components of this model are missing (labeled as none).
To fix this, click on the “Extract Textures …” button in the inspector panel. Create a new folder in the pop-up window and rename it to “Textures”, and then click on “Select Folder”. Do the same for Materials by clicking on the “Extract Materials …” and creating a new folder called “materials”. Once done, the model should have all the materials and textures added to it.