Remote Sensing - Tips and Tricks
ZIP Files:
Much of the data used in this course will be in a compressed format. These datasets have been packaged for download in ZIP format. We will ask you to download and install the free utility, 7Zip, to extract files provided in ZIP format.
Screen Captures:
The lab assignments in this course will require you to submit images of your computer screen or an application window. In Windows, you can use the Snipping Tool; consult the Windows Help for more information. There are also a number of free or inexpensive screen capture tools available on the Internet, such as CaptureWiz. Regardless of the tool used, here are some basic guidelines to follow:
- Capture only the window (or portion of a window) that is relevant to the question. Do not submit screen captures of your entire desktop.
- Organize your screen captures into folders by lessons and assignments (i.e., Lesson1_Lab1, Lesson1_Lab2, etc.). Use the question number from the lab in the file name (i.e., Lab1_Q1.jpg, Lab1_Q3.jpg. etc.).
- Save your screen captures to these folders as you work through a lab exercise; then when you have finished the entire exercise to your satisfaction, upload all of the screen captures for a particular assignment to your Canvas files, and then embed them in the Lab Deliverable in Canvas.
Esri Data Folders:
Esri software is historically picky when it comes to file and folder names. Set up a location on your hard drive for all of your lab data for this course. Make sure there are NO SPACES anywhere in the path to that location.
DO create a location for your data, similar to the following example:
C:\GISDATA\PSU\Geog999\Lesson1
DO NOT put your GIS data under "My Documents" or any other folder on your computer that contains spaces in the path. This is an example of what not to do:
C:\Users\Karen Schuckman\My Documents\Penn State\My GIS Data
Windows File Explorer Options:
By default, Windows File Explorer does not show you the extension in a list of files. Instead it creates a separate column for File Type, assuming that certain file extensions correspond to certain file types. Windows default assumptions are often not correct for the file types encountered in remote sensing.
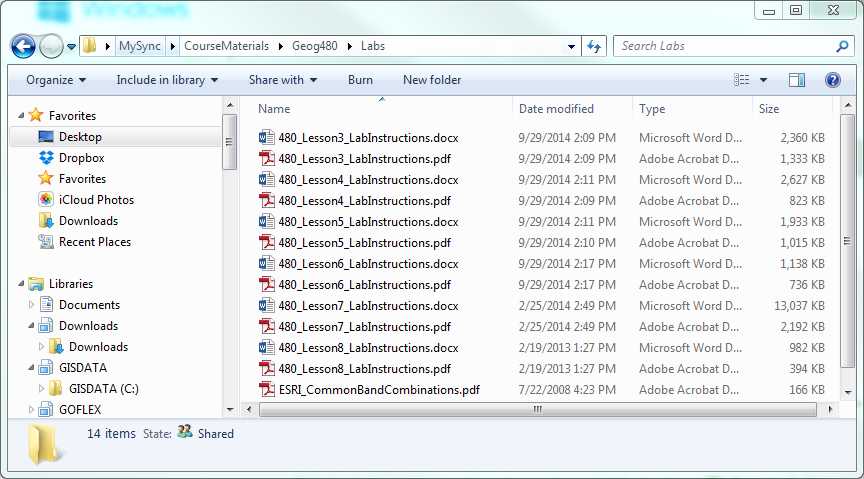
In the File Explorer menu > View tab > Show/Hide group, enable the option to show File Name Extensions. After enabling this option, your Windows Explorer view should look like this:
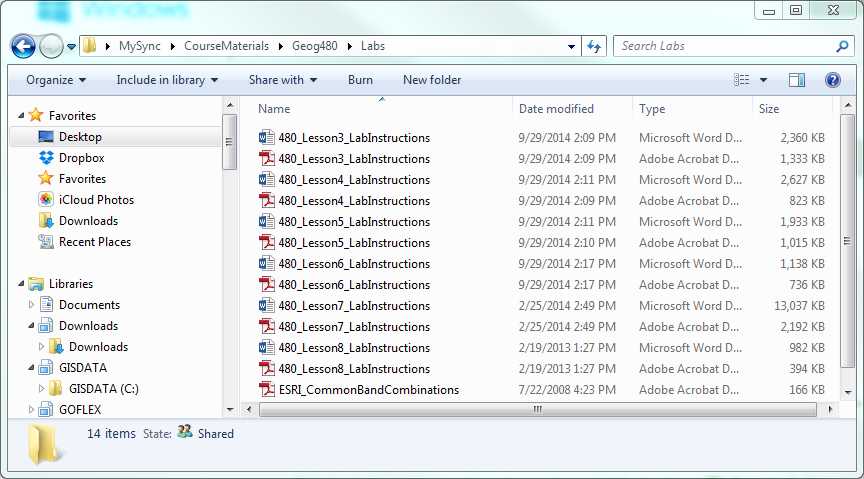
Not like this:
Questions?
If you have any questions now or at any point during this lesson, please feel free to post them to the appropriate Discussion Forum.