Print
Tasks and Deliverables
Optimization Assignment
Instructions
In this exercise, you will work with different optimization and pre-rendering techniques that are applicable to a number of 3D modeling programs.
Goal: To introduce optimization and the role of rendering SketchUp models.
Software: Sketch Up
Required extentions for this Task:
TT_Lib Extension by ThomThom
CleanUp Extension by ThomThom
Model Info Extension by ThomThom
Probes Extension by ThomThom
Hardware: None
Model: Download Lesson 3.5 Assignment Model.
Tasks to Complete
- Task 1: Understand Optimization and Rendering
- Task 2: Optimize provided Example Model
- Task 3: Correct Face Normals of Optimized Model
- Task 4: Document Optimization Methods
Steps
- Install all Extensions from Extension Warehouse. (Note: you will need to sign in with a SketchUp account before it will let you install, alternatively, you can download the extension from the SketchUp Extension Warehouse website and use the Extension Manager to install the downloaded files.)
- Open up Microsoft Word to document each step.
- Download the Example Model Provided and open in SketchUp.
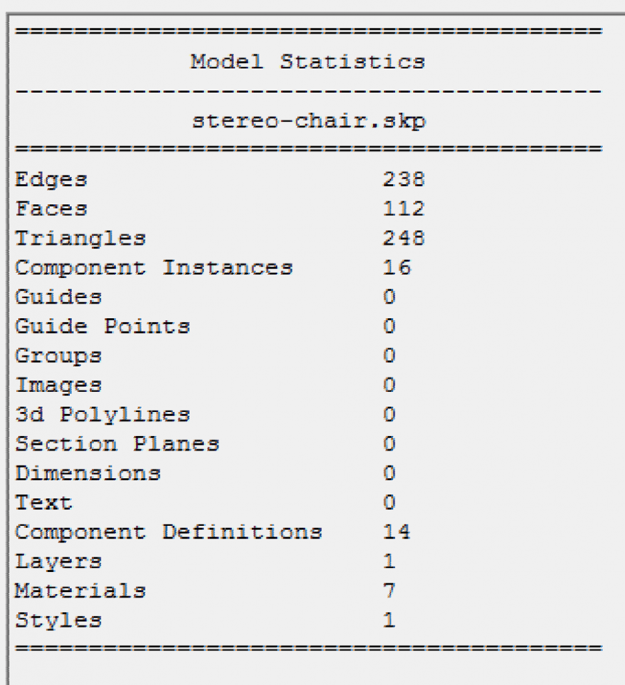
- In the menu bar at the top of the screen, click Extensions -> Model Info -> Statistics to File a. Name the file [file name].txt and choose to save to the Desktop. Click Save.
- Take a screenshot of the model in SketchUp.
- In the Word Document, type ‘Original Model’, copy the screenshot of the model. Then open the text file with your Model Info and copy the contents into the Word document next to the model screenshot.
- Next, we will use an automated tool for optimizing models in SketchUp, the Clean Up extension. Go to Extensions -> CleanUp -> Clean.
- In the window that opens up, you can choose a number of options.
- Use the default settings first. Click CleanUp.
- Take another screenshot of the model.
- Go to Extensions -> Model Info -> Statistics to File a. Name the file with a different name [file name].txt and choose to save to the Desktop. Click Save.
- In the Word document, type ‘CleanUp Model’, copy the screenshot of the model. Then open the next text file and copy the new Model Info into the document. a. Notice the difference in the numbers.
- Manually inspect the model for extra lines and hidden faces and other issues. (Note: this step will take the most time and also has higher points if done thoroughly.)
- Screenshot the model.
- Extensions -> Model Info -> Statistics to File a. Name the file with a different name [file name].txt and choose to save to the Desktop. Click Save.
- In Word, type ‘Manual Clean Up’, copy the screenshot of the model. Then open the newest text file and copy the next Model Info into the document.
- Use the Probes extension to identify Face Normals that are flipped. Extensions -> Probes -> Normals. Keep in mind that this extension will not work on Groups or Components unless you are able to access individual face.
- The three lines produced when hovering over a surface should all be facing out from the direction the surface is facing. If you do not see all three lines (Red, Green, Blue) then your Normal is flipped.
- Take one last screenshot of the model with all corrected Normals.
- In Word, type ‘Normals Flipped’, and copy the screenshot.
- The last step is to use the Position Camera option, Camera -> Position Camera to select a location that will allow you to view the model from a human perspective. If you see the height in the bottom Window that says Eye Height is more than 5’ 6”, you will need to adjust the height by using the Position Camera again.
- Find a good view using the Walk capability with the mouse, Camera -> Walk.
- Add Materials of your choice to the model and turn on Shadows (the default lighting source in SketchUp) View -> Shadows.
- Adjust your view, keep in mind it needs to be from human height, so use the Position Camera option with Walk and Look Around to help you find the best view without changing the height. You can consider a view from inside the model or outside the model, it is up to you.
- Take a screenshot of the final model with materials and lighting.
- In Word, type ‘Final Model’, and copy the screenshot.
Grading Rubric
| Criteria | Full Credit | No Credit | Possible Points |
|---|---|---|---|
| Screenshot of model | 1 pts | 0 pts | 1 pts |
| Screenshot of model statistics | 1 pts | 0 pts | 1 pts |
| Screenshot of model after using clean up | 2 pts | 0 pts | 2 pts |
| Screenshot of model statistics after using clean up | 2 pts | 0 pts | 2 pts |
| Briefly describe the differences, how much optimization has happened | 1 pts | 0 pts | 1 pts |
| Screenshot of the model after manual cleaning | 2 pts | 0 pts | 2 pts |
| Screenshot of the model statistics after manual cleaning (if done thoroughly) | 2 pts | 0 pts | 2 pts |
| Screenshot of face normals flipped | 2 pts | 0 pts | 2 pts |
| Screenshot of Final Model (as described in instructions) | 2 pts | 0 pts | 2 pts |
| Total Points: 15 pts |
Submit your file
Upload your word document and your SketchUp file to Lesson 3 Optimization Assignment.