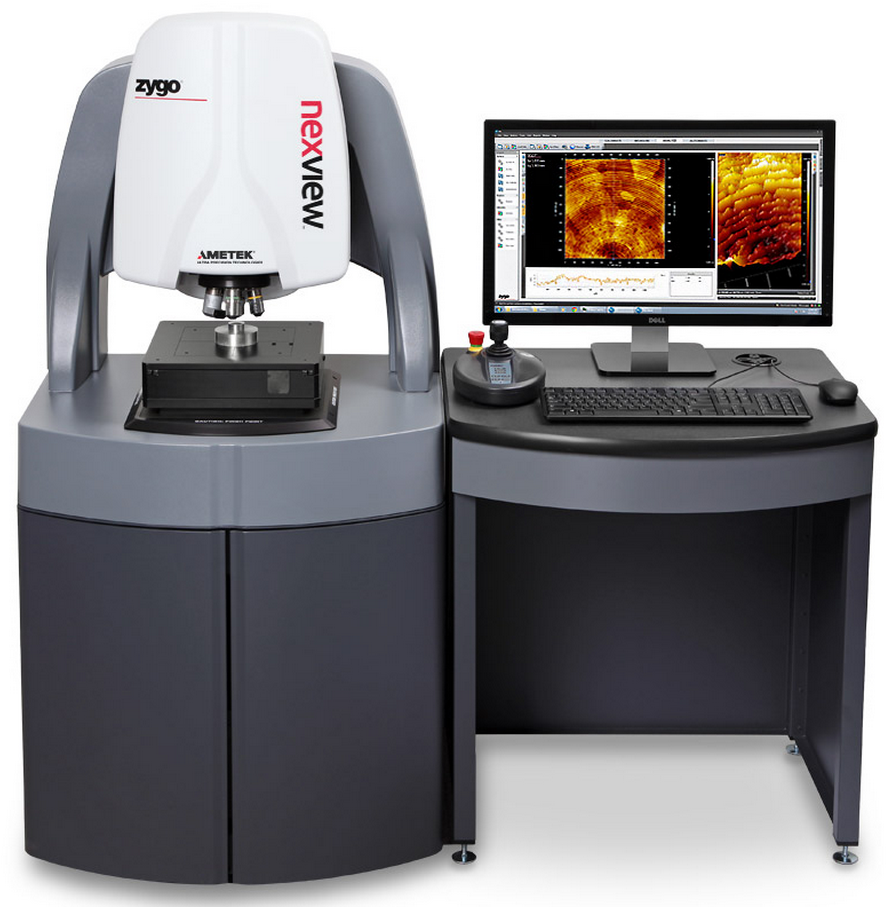
The Nexview 3D optical profiler is a white light interferometer offering fast, non-contact, high precision 3D metrology of surface features. The Nexview 3D excels at measuring all surfaces; from super-smooth to very rough, with sub-nanometer precision, independent of field of view. Measurement types include flatness, roughness, steps and segments, thin films, and steep slopes, with feature heights ranging from <1 nm up to 20mm.
If you are interested in utilizing this equipment at the Materials Characterization Lab, you will need to first participate in the training resources offered via this website. An overview of the training is provided below.

Completion of this training is a required component in order to gain access to MCL's optical profilometer. The training consists of two major sections; the first section consists of the review of online materials (located on this site), the second section of training is an in-person demonstration of your understanding of the appropriate concepts and usage of the instrument. The online materials may be reviewed multiple times prior to the in-person session These resources will remain open indefinitely and may be accessed at any time in the event you would like to review the information.
During the in-person session, you will be provided with supervised access to the instrument. The instructor will verbally assess your knowledge of lighting theory and walk you through the initial use of the instrument. After you are able to demonstrate a solid understanding of how the instrument functions and a visible comfort level in utilizing the instrument, you will be provided with unsupervised access.
To begin the training on the Optical Profilomenter, Please click on the Theory tab in the top navigation.
Questions regarding this training may be directed to Tim Tighe.