1.2 Add Data to the Map
To explore Penn State’s University Park Campus, you need data. Download the data. You can save the data package on any location on your computer. Please make sure to unzip the file. It is highly recommended that you save data in the project folder you created before, UniversityParkCampus. The reason is that if you have to move to a different computer, saving everything in your project folder will avoid (most likely) issues with connecting data to your project.
Note: ESRI ArcGIS software is sensitive to the change of data location. If the location address is changed compared to where the addresses are stored in the project, you have to re-link data.
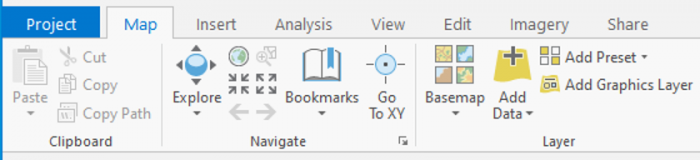
- Go back to the ArcGIS Pro project. At the top of the page, a ribbon is located. Click on the map tab. In the layer group, click on Add Data.
 Credit: 2021, ArcGIS
The Add Data Window will open. You will have three options for finding data: (1) the project folder, (2) portal (online), and (3) my computer.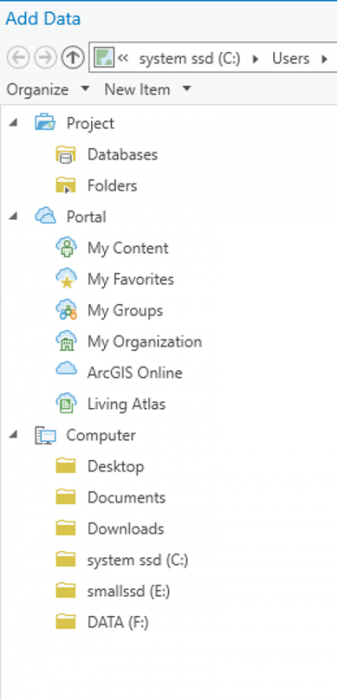 Credit: 2021, ArcGIS
 -
In the pane of the window, under my computer click on the folder that you have saved the data files in. If you have used the default location for saving the project (C:\Users\Yourname\Documents\ArcGIS\Projects), the geodatabase is inside the UniversityParkCampus folder.
-
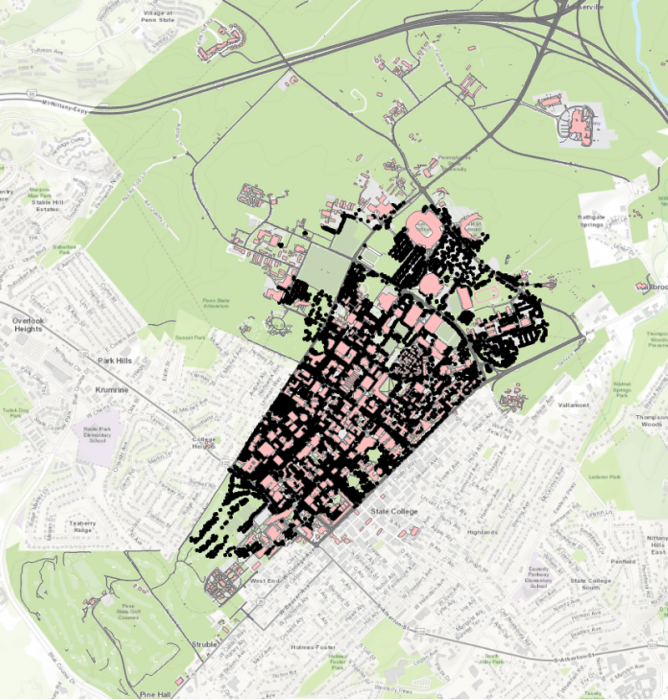
Go inside the geodatabase and Double-click the following layers to add them to the map: UP_BUILDINGS,UP_Major_Roads, UP_Minor_Roads, UP_Sidewalks, and UP_TREES.
Attention: if you go to the project folder you can see that a geodatabase named exactly as your project has been created: “UniversityParkCampus.gdb’.This is the geodatabase that you will use for saving the results of the analysis. The geodatabase that we have given you (Lesson5.gdb) contains external data prepared for you to start.
 Credit: ChoroPhronesis Lab
The map will center on the University Park campus in State College, PA.