Print
1.3 Navigate the Map and Create Bookmarks
Before we focus on symbolizing the layers and improve the map, you will learn how to navigate the map and create bookmarks to quickly return to key areas.
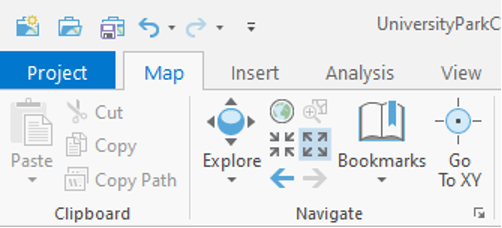
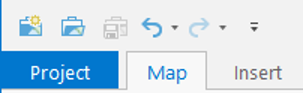
- On the top of the page, a ribbon is located. On the Map tab, in the Navigate group, click the ‘Fixed Zoom Out’ button. The map zooms out a fixed distance.
You can also zoom by positioning your mouse pointer in the map window and using the mouse’s scroll wheel.
 Credit: 2021, ArcGIS
 - Zoom out until you see the entire campus area.
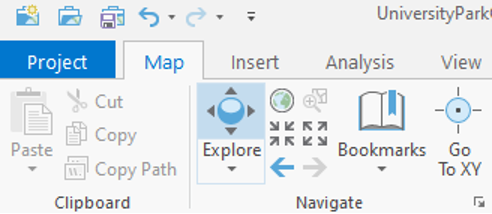
- In the map tab, in the Navigate group, click the Explore button.
 Credit: 2021, ArcGIS
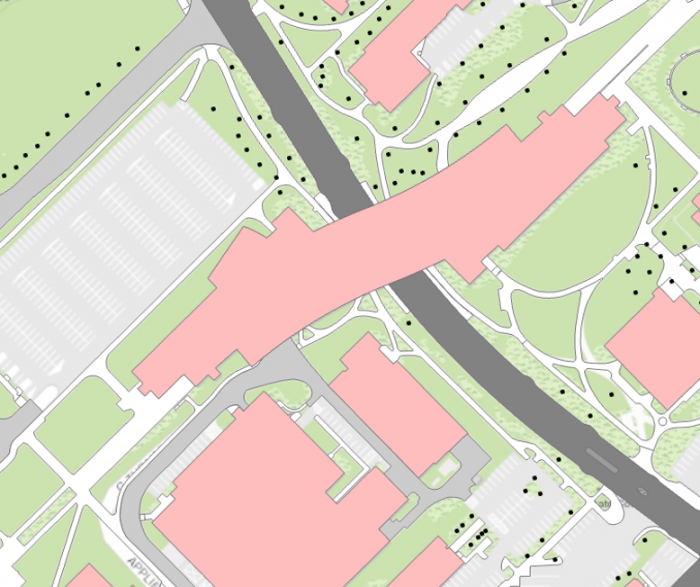
 - Click and drag the map to pan to the west side of campus where the IST (Information Sciences and Technology) building is located.
 Credit: ChoroPhronesis Lab
 - Pan back to the center of the University Park campus.
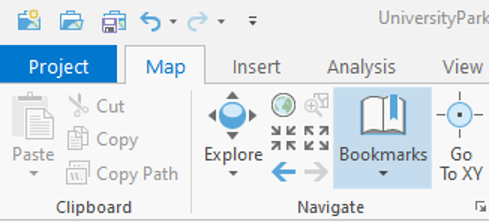
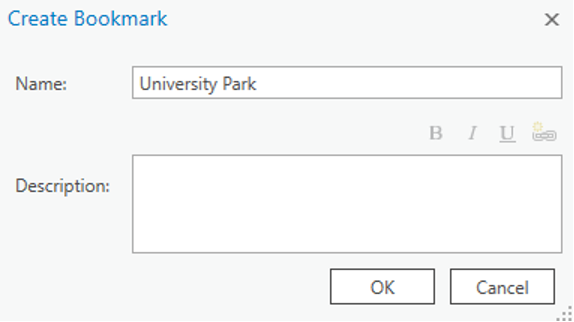
Now, you will create bookmarks to quickly and efficiently navigate to points of interest. - In the Map tab, in the Navigate group, click the bookmarks button and choose a new Bookmark.
 Credit: 2021, ArcGIS
 - Type University Park for the Bookmark Name. Click OK.
 Credit: 2021, ArcGIS
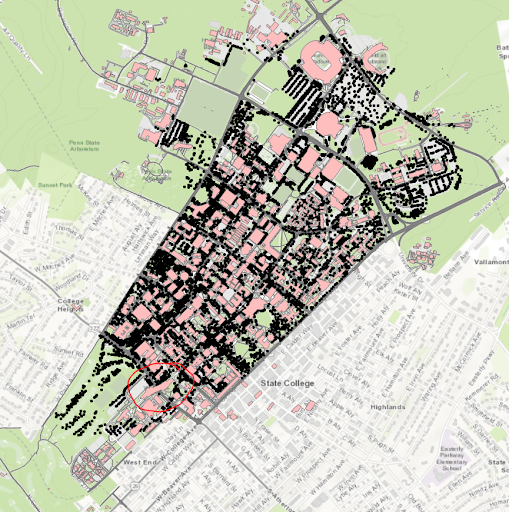 Credit: ChoroPhronesis Lab
 - Zoom back to the IST building highlighted below. To zoom to a specific extent, press and hold the Shift key and draw a box around the area on the map.
 Credit: ChoroPhronesis Lab
 - Bookmark the IST building. Name the bookmark IST.
- Click the Bookmarks button and click the University Park bookmark.
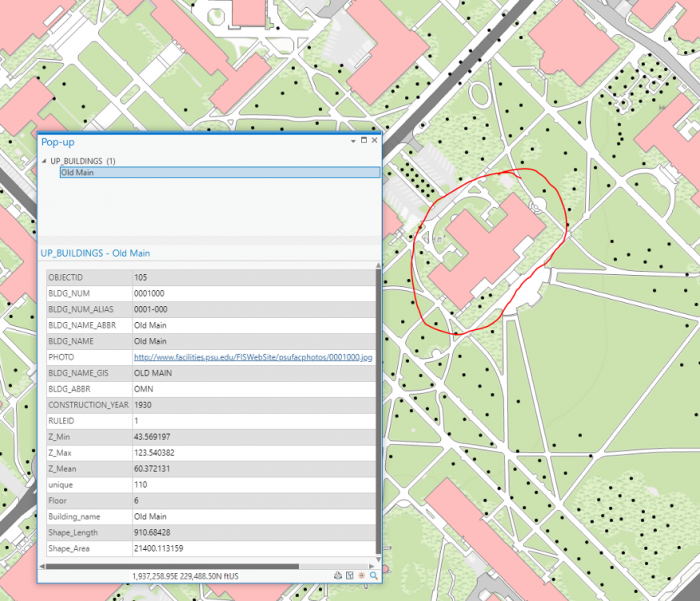
- Click on the building pictured below to open a pop-up window with additional information.
Every feature has a pop-up window. By default, a pop-up displays the attribute data of the selected feature. The above example includes the building’s name and its construction year.
 Credit: ChoroPhronesis Lab
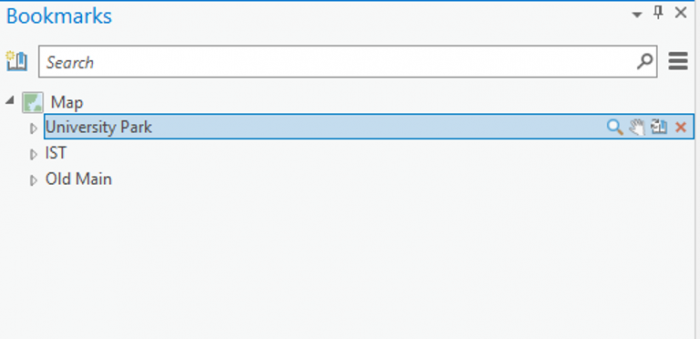
 - Bookmark this building and name it Old Main. You can also access the Bookmarks pane on the right side of your map to get an overview of the bookmarks you created.
 Credit: 2021, ArcGIS
 - Click some of the buildings to learn about the data. You can find the Geography Department and the Hub and bookmark them for practice.
- Return to the University Park bookmark. In the Quick Access Toolbar at the top corner of the ribbon, click the Save button to save your project.
 Credit: 2021, ArcGIS
In the next lesson, you will learn about data symbolization and editing.