4.1 Convert a Map to a Scene
Most commonly we display data as a 2D map (although this may change in the future). Traditionally, in ArcGIS software, a 2D map was displayed in ArcMap and a 3D scene displayed by ArcScene.
In ArcGIS Pro, you will have 2D maps and 3D scenes in the same platform. A scene is a map that displays data in 3D. By default, ArcGIS Pro will convert a map to a global scene, which depicts the entire world as a spherical globe. Since your area of interest is University Park Campus, not the entire globe, you will need to change the settings so the map converts to a local scene instead.
- Before starting this section, turn on UP_BUILDINGS and Smoothed_DEM layers.
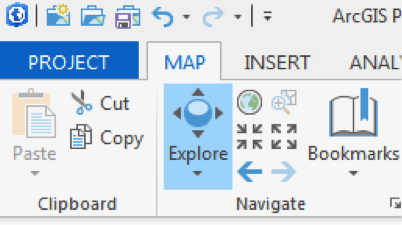
- Click the Project tab.
 Credit: 2016 ArcGIS
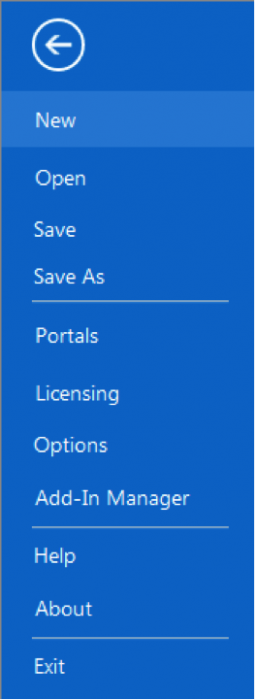
 - Click Options, on the blue pane.
 Credit: 2016 ArcGIS
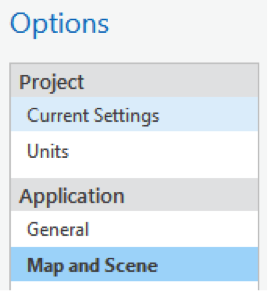
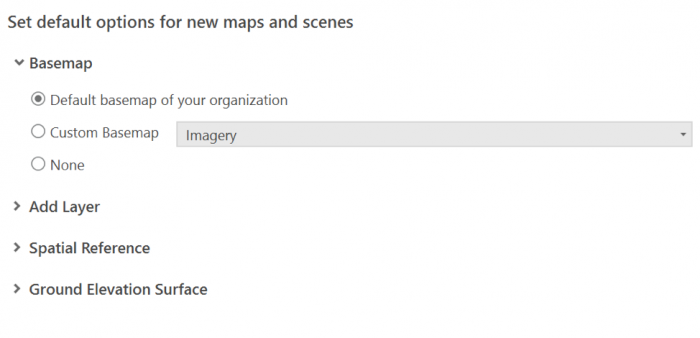
 - The Options window will appear. Under Application, click Map and Scene.
 Credit: 2016 ArcGIS
 - Choose the default base map of your organization.
 Credit: 2019 ArcGIS
 - Click OK. In the blue pane, click the back arrow to return to your map.
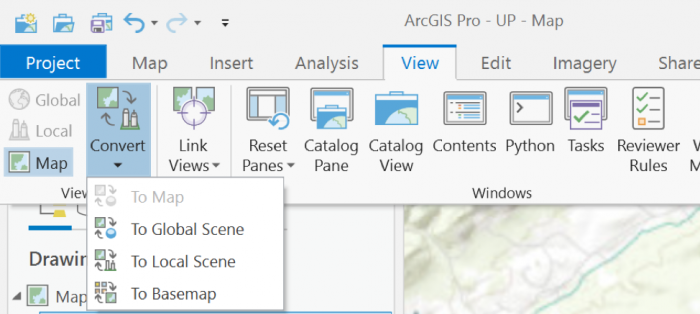
- On the View tab, in the View Group, click Convert and from the drop-down menu choose ‘To Local Scene’.
 Credit: 2019 ArcGIS
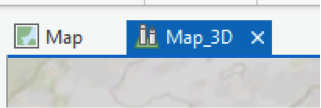
Your map converts to 3D, creating a new pane called Map_3D. You can go back to your 2D map at any time by clicking the Map tab.
 Credit: 2016 ArcGIS
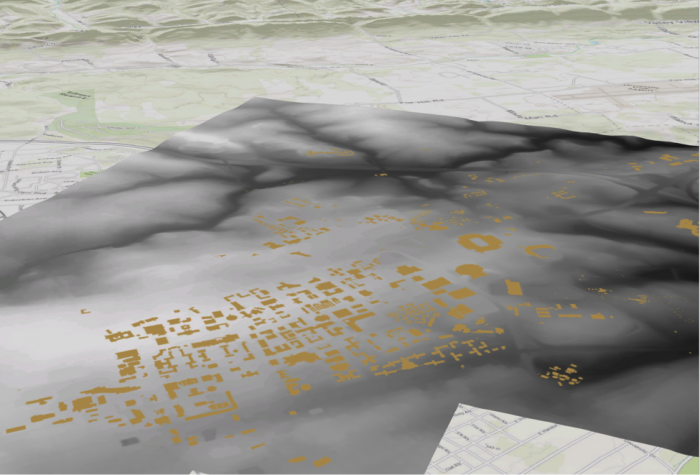
 - Under the Map_3D pane, still, your data is 2D and flat. This is because your layers are designed as 2D. You will change them later in this section. If the UP_BUILDINGS layer is in the 3D Layers, drag it down to 2D Layers.
- In the Map_3D scene, hold down the scroll wheel or the V key and drag the pointer to tilt and rotate the scene. Pan and zoom the same way you would in a 2D map.
 Credit: ChoroPhronesis Lab
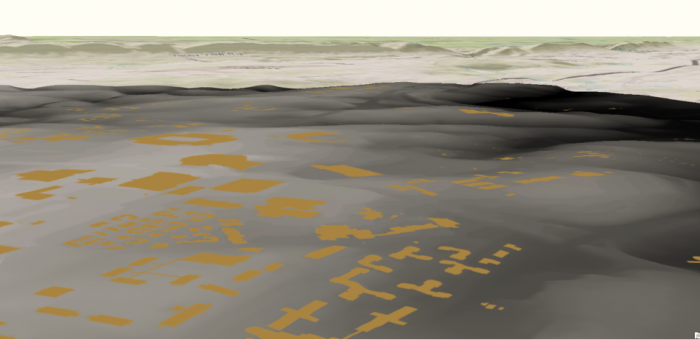
The flatness of the campus contrast with hills in the distance. By default, scene uses a map of elevation data, called an elevation surface, to determine the ground's elevation. It is a low resolution but spans the entire world.
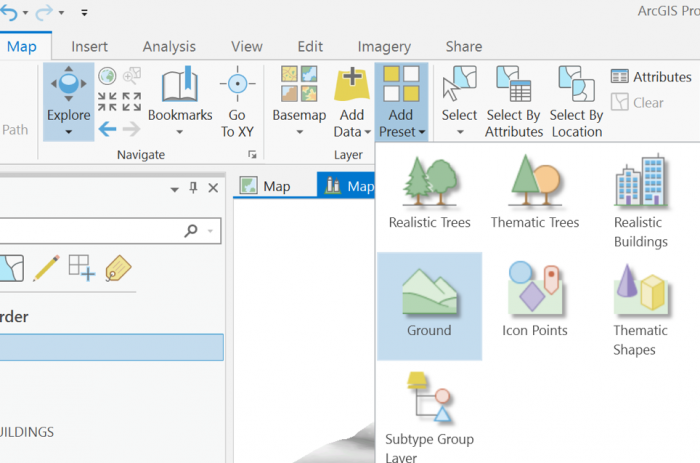
- On the Map tab, in the Layer group, click the Add Preset button and choose Ground. The Add elevation source window opens. The Smoothed_DEM should be set as the ground in the area around campus. Navigate to the location of Smoothed_DEM. Click Select.
 Credit: 2019 ArcGIS
 - Pan, zoom, and tilt to navigate the scene and better view the new ground elevation. You may have to zoom very close to see the shifts in elevation.
 Credit: ChoroPhronesis Lab