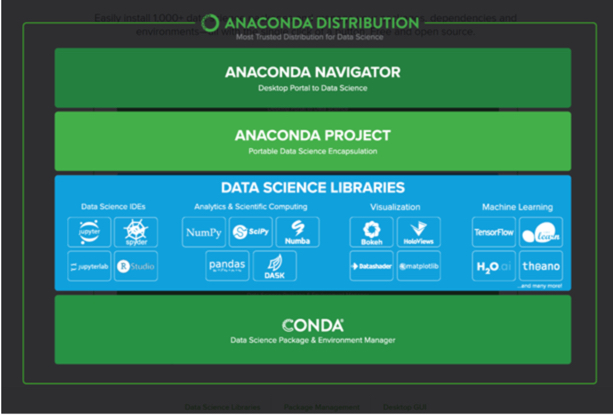
Anaconda is a Python distribution that includes the most popular data science package and conda in its distribution. Anaconda makes it easy to create a Python setup conducive to data analytics that also facilitates package management (updates, installs), packaging projects, managing environments and sharing packages. It is build on top of conda but provides a graphical interface for managing Python environments and packages. Figure 40 obtained from the Anaconda website shows the Anaconda components.
If you investigate further you will learn that the conda portion of Anaconda contains a repository of packages maintained by Anaconda (Anaconda Repository), but also the Anaconda Cloud, which users and organizations can contribute to. If we were to upload the package created in the previous optional section with the command conda presented to us, it would be uploaded to the Anaconda Cloud.
We will use Anaconda in Lesson 3 to work in a fresh Python environment outside of the ArcGIS Pro installation. You should therefore perform the steps in this section to install Anaconda on your computer. Setting up a user account for Anaconda Cloud will be described in the following optional section. You won't need this unless you want try uploading the conda package from the previous optional section to the cloud yourself.
To download and install Anaconda you would normally go to anaconda.com, pick the Individual Edition option (or one of the other options if you prefer), and then click Download to get to the page where you can download the Anaconda installers (Figure 41; Anaconda frequently update their website design but you get the idea). However, we are here providing a direct link to download the Windows 64-bit installer to make sure we all are using the same version, one that we have tested the Lesson 3 content with: https://repo.anaconda.com/archive/Anaconda3-2021.05-Windows-x86_64.exe . Once downloaded double click on the .exe file to run the install. Use all the default install options. If asked, you can choose to skip installing Microsoft Visual Studio Code.

After the installation, Anaconda will be located in a folder called Anaconda3 of your user's home directory, so C:\Users\<user name>\Anaconda3 . This is the root environment (also called base environment) installed by Anaconda. If you create further environments or clone existing environments, these will be located in the envs subfolder of the Anaconda3 directory.
The easiest way to interact with Anaconda is via the Anaconda Navigator program that provides a graphical user interface for managing the installation, starting programs, etc. Just type the first letters into the Windows search and you should be able to find the program and run it (if not, it is located in the Scripts subfolder of the Anaconda3 directory).
Here is a quick overview of the Navigator interface: As shown in the image below, the Navigator has a vertical main menu on the left side of the window. We are only interested in the Home and Environments entries at the moment. The Home screen simply shows you a number of applications that are either installed and can be launched in your currently active Python environment or that you may want to install. You can switch to a different environment using the dropdown menu box at the top. In the image below, the currently active environment is the root environment installed by Anaconda.

If you now switch to the Environments screen, you will see that it has two main sections: the one on the left is for managing Python environments and the one on the right is for managing packages in the currently active environment. Anaconda will also see potential environments located under C:\Users\<user name>\AppData\Local\ESRI\conda\envs, so, if that's the location where your ArcGIS Pro installation has stored its default Python environment, it should appear in the environments list as well.
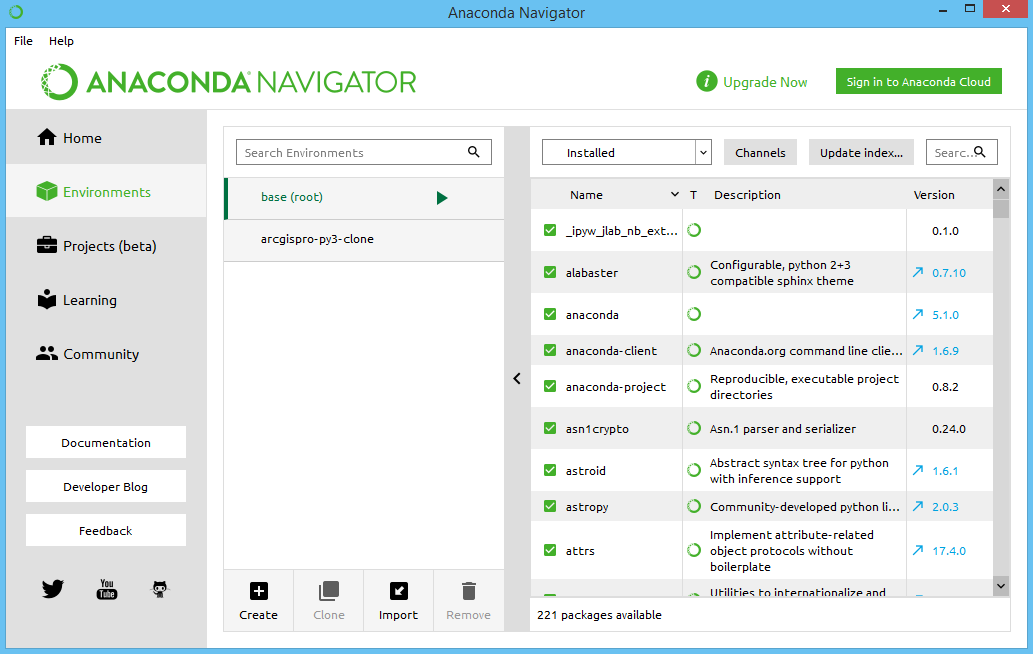
Clicking on a environment in the list will activate that environment and update the package manager view on the right accordingly. The buttons below the environment list can be used to easily create, clone or delete environments. The graphical package manager on the right is also relatively intuitive to use. At the top, you can (among other optios) select whether it should list the current, not installed, or all available packages. Selecting an uninstalled package by clicking the box on the very left of the entry will allow you to install that package. Packages for which newer versions are available are shown with a blue arrow next to the version number on the right. Clicking that arrow will allow you to update the package. Both the graphical environment manager and package manager are visual front-ends to conda. So whenever you perform some activity, like installing a package, the corresponding conda command will be executed in the background.
This was really just a very brief introduction to the main elements of the Anaconda Navigator and Anaconda in general. However, you will get the chance to further use it and learn more details in Lesson 3.