Important note: This section uses the conda package created in optional section 2.8.3.2. While knowing how to create packages from your Python code to disseminate it is an important skill for a Python programmer, it is not required to have performed the steps required in this section successfully yourself to finish the lesson and the rest of the course. Therefore, this section is provided for interest only. We recommend that you just read through it or skip over it completely and you can then loop back to it at the end of the lesson if you have free time or after the end of the class. If you decide to go through the steps yourself and find yourself stuck with some errors, please feel free to ask about them on the course forums but don't let such issues keep you from reading through the rest of the section and finishing the lesson.
After the installation, the next step to publishing our conda package from Section 2.8.3.2 is creating a user account. In order to obtain one, you need to go to anaconda.org and use the dialog on the right side of the screen to create an account.

Finally, we are ready to upload our package to Anaconda. In the Command Prompt window, run the following command to log into the Anaconda Cloud (note that the path might be one of the following two options depending on where Anaconda is installed):
c:\Users\YourUserName\Anaconda3\Scripts\anaconda login
or
c:\programdata\Anaconda3\Scripts\anaconda login
You will be asked to provide your user credentials and will be greeted with a message that confirms that your login was successful.
The next step is to upload your package – run the following command (remembering to use the path to where Anaconda was installed), but replace the tar.bz2 file with the file name conda provided you at the completion of the package build. If you are using an older version of Pro, you will also have to replace the first part of the path to the .tar.bz2 file with "c:\Program Files\ArcGIS\Pro\bin\Python\envs\arcgispro-py3\conda-bld\win-64\".
c:\Users\YourUserName\Anaconda3\Scripts\anaconda upload "c:\Users\<user name>\AppData\Local\ESRI\conda\envs\arcgispro-py3-clone\conda-bld\win-64\<yourinitialsdate>locationsfromwebservicescomplete-1.0-py35hc17e43c_0.tar.bz2"
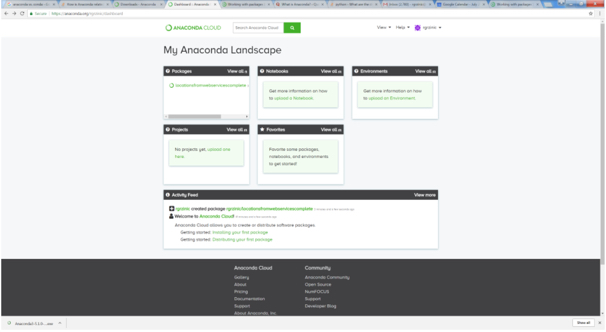
You will receive messages that keep you updated on the upload status, and then you will be notified that the upload is complete. Log into the Anaconda Cloud and look at your Dashboard (Figure 43) – the package is now listed, and located in your own Anaconda Cloud Channel. If you click on the package name you will receive information on how it can be installed with conda.