2.3 Calculate Ground Shadow Surface for Walker Building
In this section, you are going to calculate the ground surface covered by shadow during the day for Walker building.
-
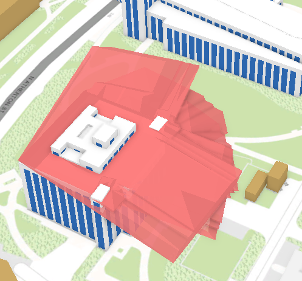
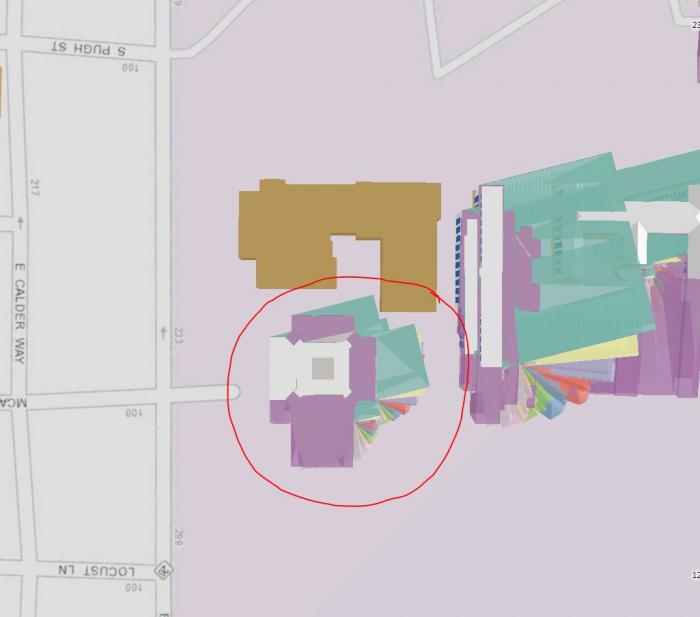
Change the current slider range to 123-230 to see all the shadow volumes.
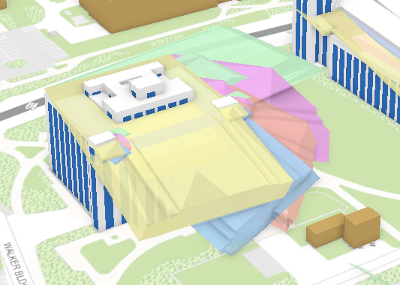 Credit: ChoroPhronesis Lab
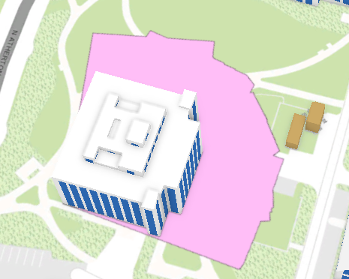
 - Zoom to Walker building displayed in the above image.
-
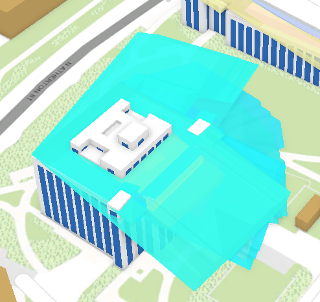
On the Content pane, click List by Selection.
 Credit: ArcGIS , 2021
 - Uncheck all layers. Make sure the only active (checked) layer is SunShadow_January1.
-
Go back to List by Drawing Order.
-
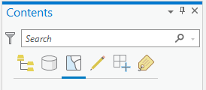
On the top ribbon, under the Map tab, click Select. Draw a rectangle on top of Walker building’s shadows to select them. Make sure not to select other buildings’ shadows.
 Credit: ChoroPhronesis Lab
 -
Right-click on SunShadow_January1 layer. Click Data, Export Features.
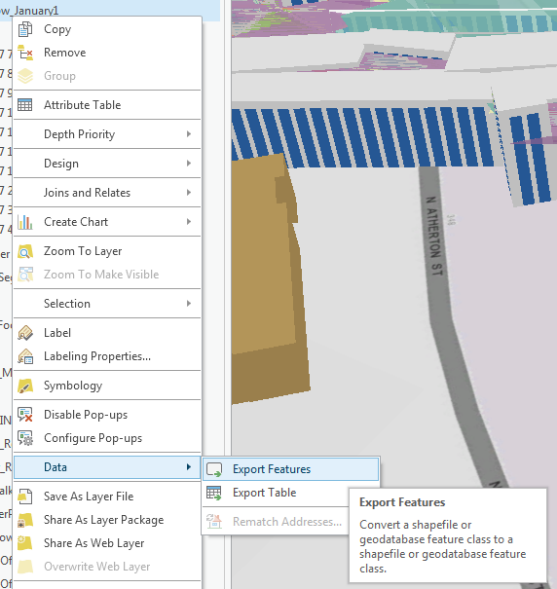 Credit: 2016 ArcGIS
 - The Export Features pane opens. Name the output feature ‘Shadows_Walker’. Click Run.
- On Content Pane, uncheck ‘SunShadow_January1’.
-
Click symbology under Appearance and change the color to the unique value. Change the color from white to another color.
 Credit: ChoroPhronesis Lab
 - Now you have the shadow volumes for Walker Building in Multipatch format. To convert it to Polygons, on top ribbon, click Analysis and select Tools in Geoprocessing group.
- Search Multipatch Footprints. Multipatch footprints create two-dimensional polygon footprints. Click the tool.
-
The Input Feature Class is Shadow_Walker. Name the output ‘Shadow_Walker_footprint’. To make one unique surface, you need to group your features based on a unique field. The “Source” field which is ‘Buildings_MP_Campus’ is a unique attribute that can group or dissolve all features together based on it. Click Run.
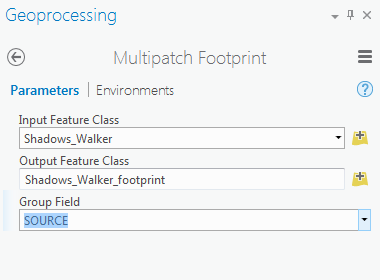 Credit: 2016 ArcGIS
 -
You can see your layer in the 2D Layers list. Uncheck Shadow Walker from the 3D Layers.
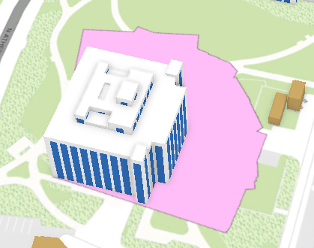 Credit: ChoroPhronesis Lab
Check Your Understanding
What is the shadow area? Do you think it is an accurate shadow area?
Click for answer.The shadow area of Walker building is around 50682.01 square feet. It is not a correct shadow area because at the beginning of this section, we asked you to calculate the ground shadow surface. However, the result of your shadow footprint contains the building itself. Although the building’s roof is covered by shadow during certain times of the day, we are only interested in ground surface.
- To solve this issue, you should subtract Walker building’s footprint from the shadow surface.
-
Turn off Up_Roof_Segment. Drag UP_Buildings from 3D Layers to 2D Layers and turn it on. Make sure it is on top of Shadows_Walker_footprints.
 Credit: ChoroPhronesis Lab
 -
On the top ribbon, click Analysis. Select Tools from Geoprocessing group. Search Erase.
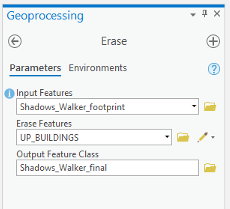 Credit: ArcGIS, 2021
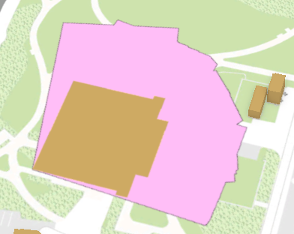
 - Your input Features will be Shadow_Walker_footprints. Erase Features will be Up_Buildings. Name the Output Feature Class ‘Shadows_Walker_final’. Click Run.
- Uncheck Up_Buildings and Shadow_Walker_footprints.
- Now, you will see that the building footprint is extracted from the shadow.
-
Turn on Up_Roof_Segments.
 Credit: ChoroPhronesis LabCheck Your Understanding
What is the area of Walker building Shadow now?
Click for the answer.35017.51 Square Feet
- Uncheck Shadows_Walker_final and turn on SunShadow_January1. Clear selection if necessary.
-
In this section, you have learned how to calculate the ground shadow surface for Walker building. In this assignment calculate ground shadow surface for the Nursing Sciences Building.
 Credit: ChoroPhronesis Lab
 - Make a Screenshot of the ground shadow surface of Nursing Sciences Building. Copy and paste it into your Word document and label it Task 3.
- Make a Screenshot attribute of ground shadow surface of Nursing Sciences Building. We are interested in the total area of shadow surface. Copy and paste it into your Word document and label it Task 4.
- Save the project.