In this section, we will provide instructions for installing QGIS via the OSGeo4W distribution manager and for setting up your system to be prepared for the QGIS programming work, we are going to do in this lesson. The OSGeo4W/QGIS installation includes its own Python 3 environment and you will have make sure that you use this Python installation for running the qgis based examples from the later sections. One way to achieve this is by executing the scripts via commands in the OSGeo4W shell, after executing some commands that make sure that all environment variables are set up correctly. This will also be explained below.
OSGeo4W and QGIS installation
To install the OSGeo4W environment with QGIS 3.x, please follow the steps below:
- Go to the qgis website
- Click "Download now"
- Pick the Windows "OSGeo4W Network Installer" close to the top (not the green button for the standalone installer!)
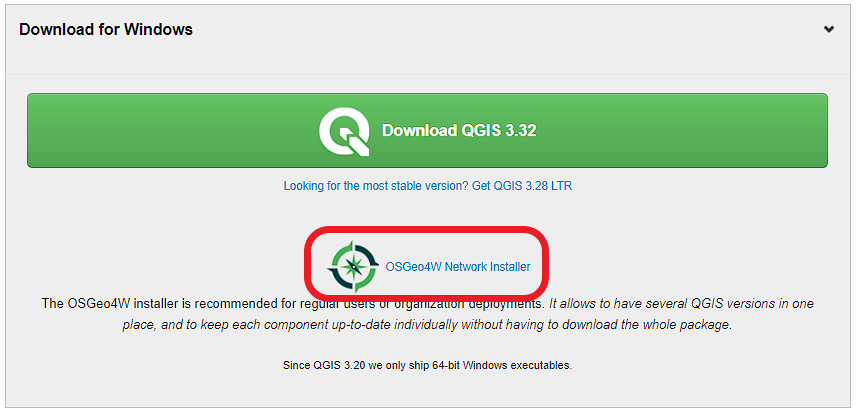 Figure 4.1 Downloading the OSGeo4W installer
 - Click on the link that says "Download OSGeo4W Installer and start it" to downloaded a file called osgeo4w-setup.exe . Then run that file to start the installation.
- Select the "Express Desktop Install" option (Unless you already have OSGeo4W/QGIS installed, then use the Advanced option to ensure you get the latest versions of all packages/tools or pick a different installation folder. If you get errors attempting to run QGIS, you may have to delete your c:\OSGEO4W folder and re-run the installation.)
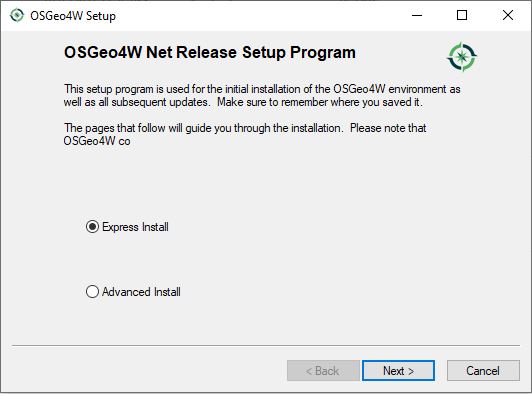 Figure 4.2 Selecting the Express Desktop Install option
 - If asked, select a site from which to install (does not matter which)
- When asked which packages to install, select the options shown in the screenshot below. Apart from that you can accept the default settings on the next pages.
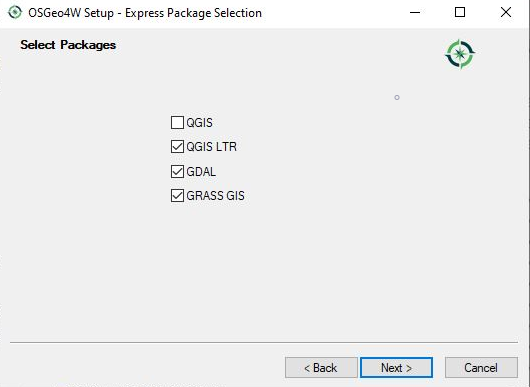 Figure 4.2b Selecting the packages to install
 - Accept the different licenses and run the installation (ignore warnings about corrupted packages if you get them and just click 'Next' if you get warnings about missing dependencies)
Where to find what?
After the installation has finished, you should have a folder called OSGeo4W in the root folder of your C: drive (unless you picked a different folder for the installation). Here we list the main programs from this installation folder that you will need in this lesson:
- C:\OSGeo4W\OSGeo4W.bat - This opens the OSGeo4W shell that can be used for executing python scripts from the command line.
- C:\OSGeo4W\bin\qgis-ltr-bin.exe - This is the main QGIS executable that you need to run for starting QGIS 3.
- C:\OSGeo4W\apps\Qt5\bin\designer.exe - This is the QT Designer executable that you can use for creating Qt5 GUIs in this lesson. If you simply double-click the .exe file in the Windows File Explorer, you will most likely get an DLL related error message because some environment variables won't be set correctly. But you should be able to run the program by opening the OSGeo4W shell and typing the command designer there.
- python-qgis-ltr - As explained further below, you can use this command in the OSGeo4W shell for setting the path and environment variables for running qgis and PyQT5 based Python 3 code as well as executing scripts directly.
Running OSGeo4W shell and commands for qgis and PyQt5 development
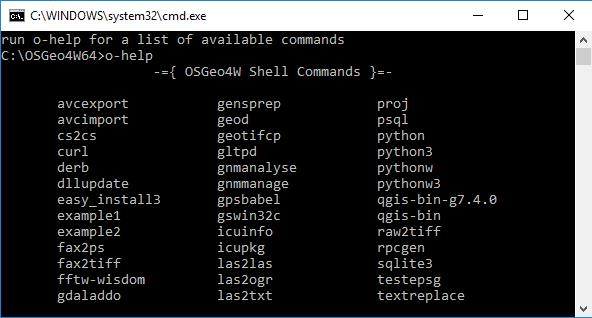
When you run OSGeo4W.bat, the OSGeo4W shell will show up looking similar to the normal Windows command line but providing some additional commands that can be listed by typing in "o-help".
When using the OSGeo4W shell in this lesson, it is best to always execute the command
python-qgis-ltr
first to make sure all environment variables are set up correctly for running qgis and PyQt5 based Python code. The command will start a Python interpreter (recongnizable by the >>> prompt) that you can immediately leave again by typing the command quit() . You can also directly run Python scripts with python-qgis-ltr by writing
python-qgis-ltr xyz.py
rather than just
python xyz.py
You can also use the command pyrcc5 in the OSGeo4W shell for compiling QT5 resource files that we will need later on in this lesson.
Installing geopy package and pandas
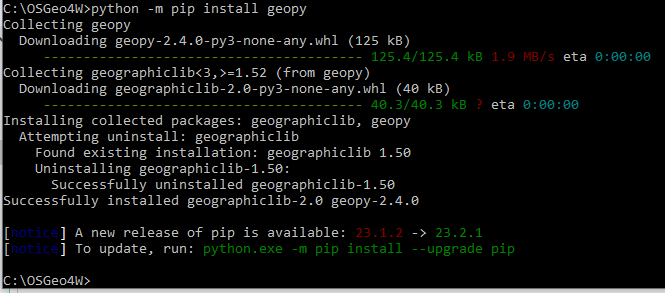
Most of the Python packages we will need in this lesson (like PyQt5) are already installed in the Python environment that comes with OSGeo4W/QGIS, but a few additional pieces are necessary. There is one package that we will use for performing distance calculations between WGS84 points in the two walkthroughs of the lesson. The package is called geopy and it needs to be installed first. To do this, please open the OSGeo4W shell and change to Python 3 by running the python-qgis-ltr command followed by quit() as described above, and then run the following pip installation command:
python -m pip install geopy
The package is small, so the installation should only take a couple of seconds. The output you are getting may look slightly different than what is shown in the image below but should indicate that geopy has been installed successfully.
In the practice exercise for this lesson, we will also use pandas. In earlier versions of QGIS/OSGeo4W, pandas wasn't installed by default. To make sure, simply run the following command for installing pandas; most likely it's going to tell you that pandas is already installed:
python -m pip install pandas
Installing the required QGIS plugins
We will need a few QGIS plugins in this lesson, so let's install those as well. Some of these are for the optional part at the end but they are small and installation should be quick, so let's install all of them now. Please follow the instructions below for this:
- Start QGIS
- Go to Plugins -> Manage and Install Plugins in the main menu bar
- Under "Settings", make sure the box next to "Show also experimental plugins" is checked.
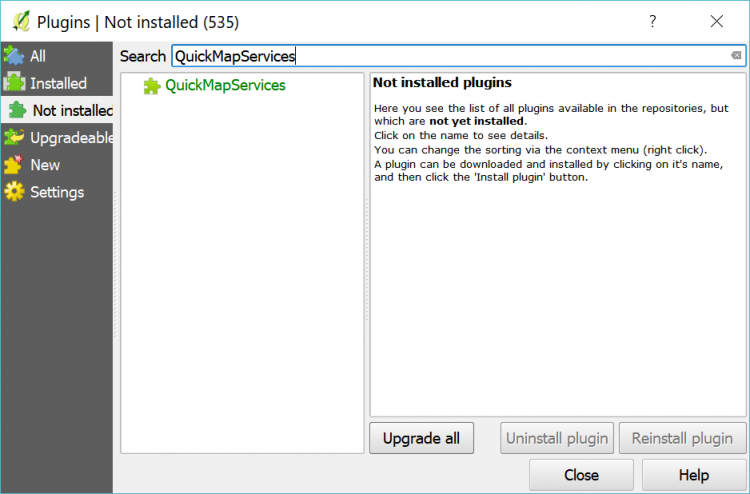
- Under "Not installed" look for the following three plugins and install them:
- QuickMapServices (allows for quickly adding basemaps like OSM to a project)
- Plugin Builder 3 (for creating templates for new plugins)
- Plugin Reloader (for reloading a plugin after modifying the code)
If you now click on "Installed", all three plugins should appear in the list of installed plugins with a checkmark on the left, which indicates that the plugin is activated.