5.1 Add and Extrude the UP_Roof_Segments
In this section, you will remove the overlapping part of UP_BUILDINGS Layer with the P_Roof_Segment. This means that the UP_Roof_Segments represents part of campus with more details while UP_BUILDINGS will represent the rest of the campus (where the detailed model is not available) with less detail.
Therefore, you should remove the overlapping feature from UP_BUILDINGS Layer. This means that the UP_Roof_Segments represents part of campus with more details while UP_BUILDINGS will represent the rest of the campus (where the detailed model is not available) with less detail.
- On the contents pane, uncheck UP_BUILDINGS Layer.
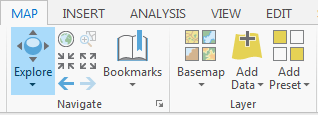
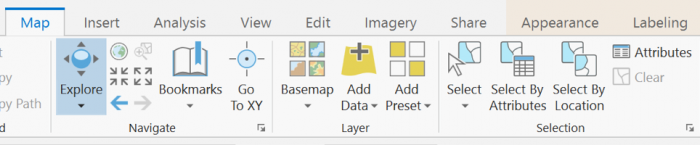
- On the Map tab, in the Layer group, click the Add Data button.
 Credit: 2016, ArcGIS
 - Add UP_Roof_Segments from the geodatabase (Module5.gdb) that you downloaded earlier in this Lesson.
- Right-Click on UP_Roof_Segment layer and select properties.
- Go to Elevation tab. Select the drop-down menu in front of ‘Features are’.
- Select ‘On the ground’ option. This means that the buildings layer uses the DEM as the ground base for elevation. Click OK.
- Click UP_Roof_Segment on the contents pane.
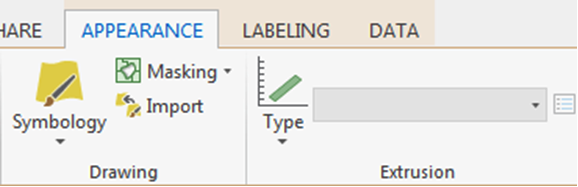
- On the Appearance tab, in the Extrusion group, click the Type button and choose Max Height.
 Credit: 2016, ArcGIS
 - Click the menu next to Type and choose Z_Mean_Roof.
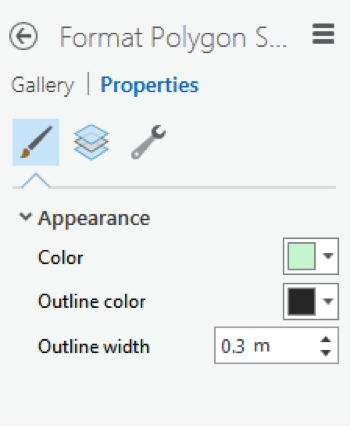
- Change the layer outline width to 0.3.
 Credit: 2016 ArcGIS
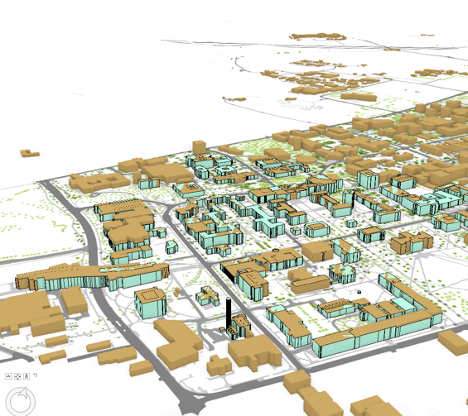
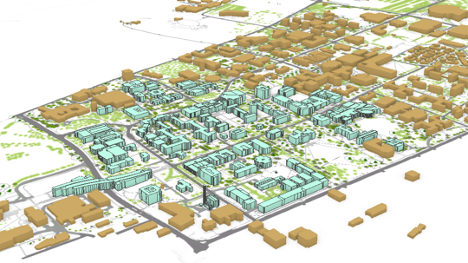
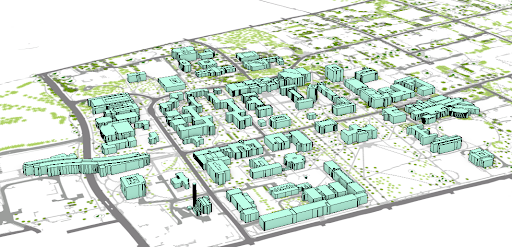 Credit: ChoroPhronesis Lab
This is how your model should look like. You can navigate by holding down the scroll wheel or the V key and drag the pointer to tilt and rotate the scene. You can see the level of details each building presents in 3D.
 Credit: 2019, ArcGIS
 -
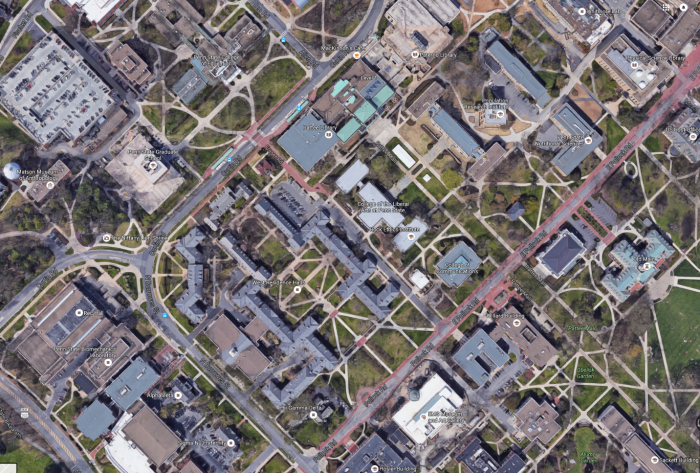
To see how the buildings look like in reality, go to GoogleMaps. Search for University Park Campus.
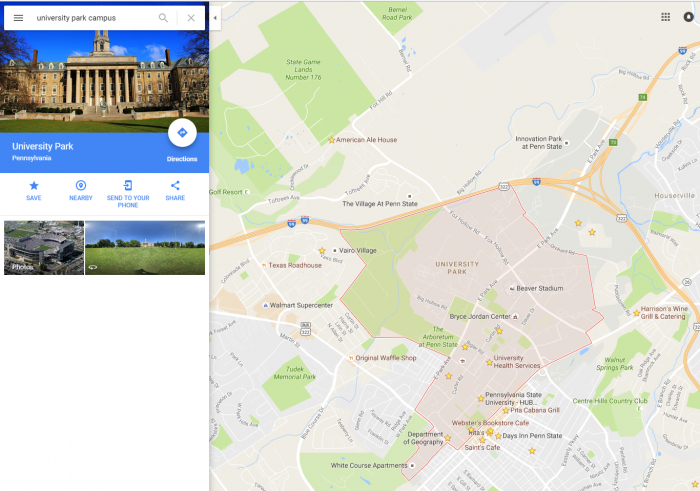 Credit: Google Maps
Click the earth option at the bottom of the page.
 Credit: Google Maps
Your map will turn to Earth view.
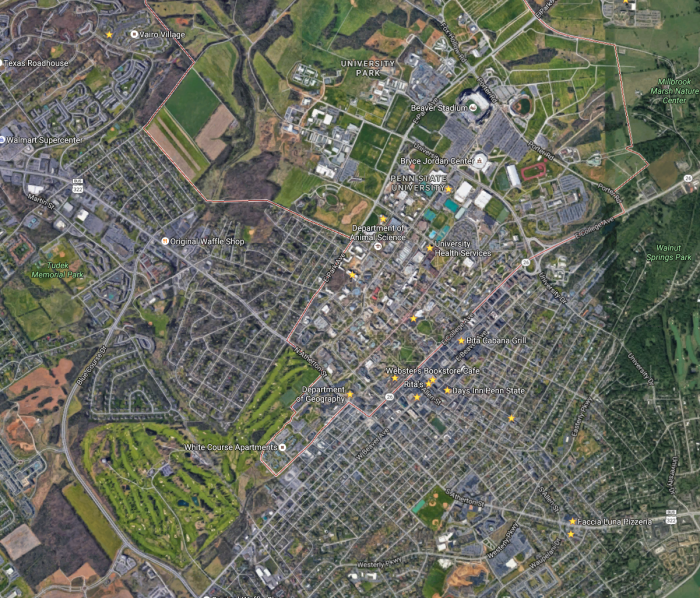 Credit: Google Maps
Zoom in to Penn State Alumni Association. This is how the roofs structures look like:
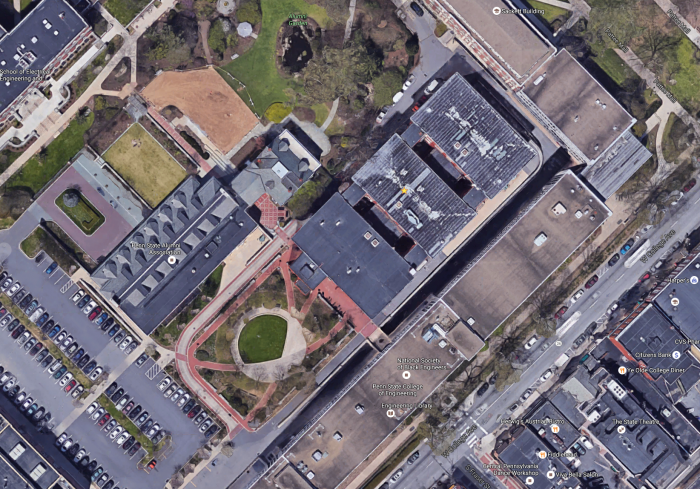 Credit: Google Maps
Go back to your ArcGIS Pro project and find the same building. You can find the same level of detail in roof structure.
 Credit: ChoroPhronesis Lab
Go back to Google map and explore more. You see that some of the buildings have flat roofs and some shed roofs. However, in your 3D model, all the roofs are flat. You will add different roof types later in this module.
 Credit: Google Maps
 - Go back to ArcGIS Pro. In the content pane, turn the UP_BUILDINGS layer back on and make sure that it is located under the UP_Roof_Segments layer. In parts of campus which has both layers, the two layers are not overlapping well; this is because UP_Roof_Segments layer masking UP_BUILDINGS and has more details in the change of elevation than the UP_BUILDINGS Layer.
- In order to remove features from UP_BUILDINGS, you should select those features. The best way to do that is to select by location. On the Map tab, in the Layer group, click the ‘Select By Location’ under Selection group.
- You will select features from UP_BUILDINGS that intersect with UP_Roof_Segments. Therefore, choose the factors as shown in the image below. Click Run.
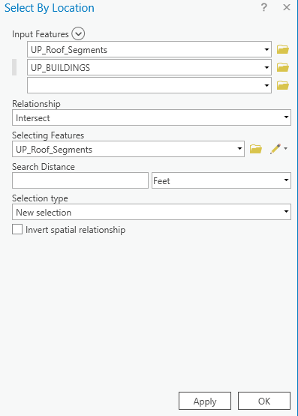 Credit: 2021, ArcGIS
 - If you uncheck the UP_Roof_Segments layer, you can see the part of UP_BUILDINGS that has been selected. This is the part that overlaps the UP_Roof_Segments.
 Credit: ChoroPhronesis Lab
However, what you need to keep is the rest of the buildings, not what has been selected. Therefore, you will switch selection to select the remaining part of the campus.
- Right-click on Up_BUILDINGS. Under Selection, choose Switch Selection.
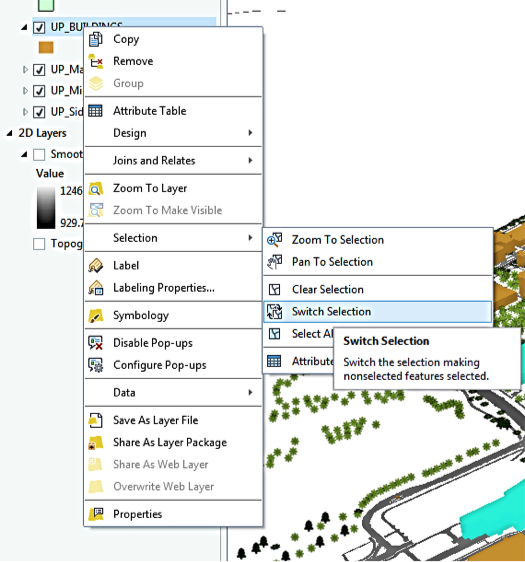 Credit: ChoroPhronesis Lab
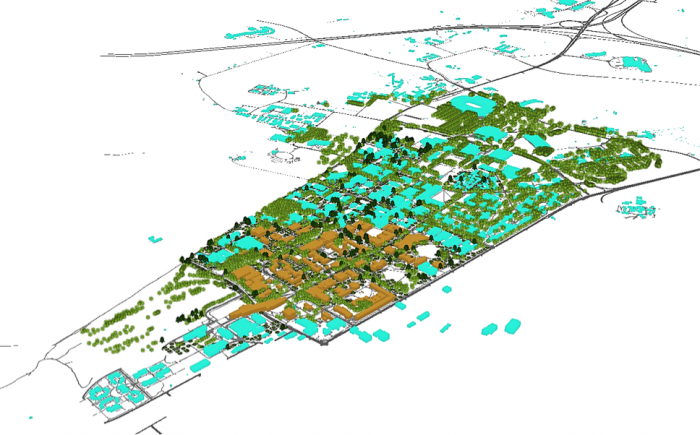 Credit: ChoroPhronesis Lab
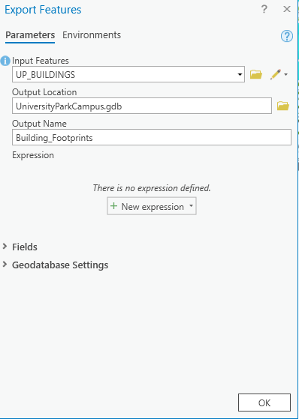
 - Now, you will export the selected features. Right-click on UP_BUILDINGS layer and click Data, choose Export Features.
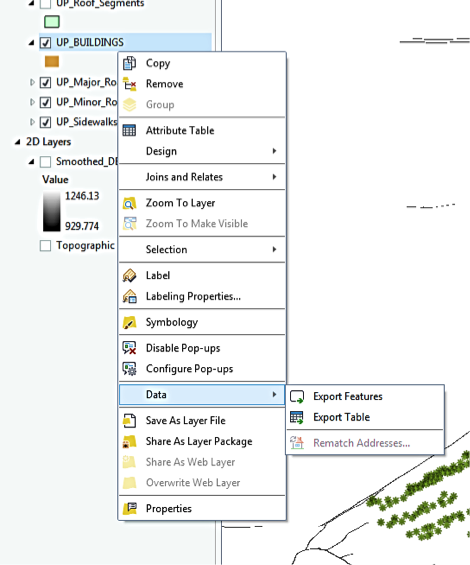 Credit: 2016 ArcGIS
 - Rename the output features to ‘Building_Footprints’. And click Run.
 Credit: 2020, ArcGIS
 - On the contents pane, uncheck UP_BUILDINGS Layer. Click Building_Footprints on the Contents pane.
- If the Building_Footprints layer is not extruded,in the Appearance tab, in the Extrusion group, click the Type button and choose Max Height. Click the menu next to Type and choose Z_Mean.
 Credit: 2016, ArcGIS
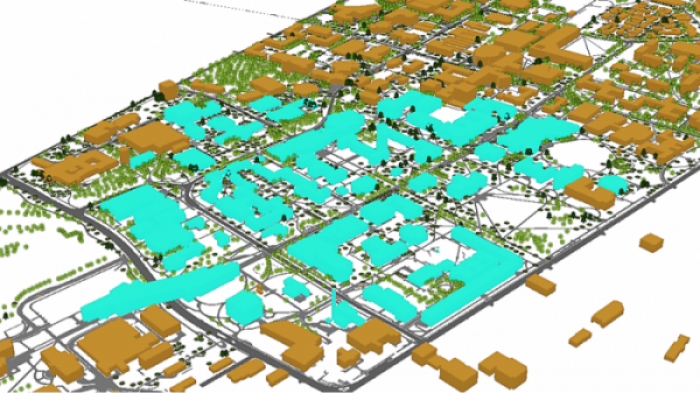
 - Turn the UP_Roof_ Segments layer back on. Your map should look like this:
 Credit: ChoroPhronesis Lab
 - Save your project.