Making the Camera Keyboard-Controlled
To make things at least a little bit interactive, we now want to be able to move the camera freely around in the scene using mouse and keyboard. Such interactivity is typically achieved by adding script components. So in this case, we want to attach a script to the “MainCamera” object that reads input from the mouse and keyboard and adapts the camera position and rotation accordingly.
We won’t teach you scripting with C# for this functionality because we can reuse some existing script. A resource for Unity scripts and extensions outside of the Asset Store is the Unity3D Wiki. As it happens, we find a script published under the Creative Commons Attribution-ShareAlike license there to realize the free-flight camera control we are looking for. The script can be downloaded here.
Let us have a very short look at the code. If you have some programming experience, you will recognize that there are a bunch of variables defined early on in the script (public float … = …) that will determine things like movement speed, etc. of the camera. These variables will be accessible from the Unity Inspector Window once we have attached this script to our camera. The actual functionality to control the camera is realized in the function Update() { … } . GetAxis(…) is used to read information from the mouse, while GetKey(…) is being employed to check the status of certain keys on the keyboard. The content of the variable called “transform” roughly corresponds to what you always see in the Transform section of the Inspector Window and is used here to change the camera position and rotation based on the user input. The Update() function of a script that is attached to a GameObject in the scene will be called for every tick (= rendered frame) when the project is executed. So in Play Mode, the keyboard and mouse will be constantly checked to achieve a smooth control of the camera.
Here are the steps to add this code as a script asset to our project and then attach it to the camera object in the Scene:
- 6.1 There are several ways how the steps to add the code can be performed. We here start with adding a new C# script file to our projects assets. Use "Assets -> Create -> C# Script" from the main menu. This adds a script to your Assets folder and it will appear as an icon in the Assets pane at the bottom of the editor. You are now supposed to give the script a name. It is important that the name of the script file is the same as that of the class being defined in the file, which in this case is “ExtendedFlycam”. So please use this name and make sure that the capitalization is correct (upper-case E and F).
 Credit: Unity 3D
 - 6.2 You can click on the script icon to see the script code in the Inspector Window. Currently, this is just the standard template code for a Unity script that Unity generated automatically. Now double-click the script icon, which will open the script in Visual Studio. You may have to switch over to Visual Studio manually if the window doesn’t show up in the foreground on your screen. (Opening the visual studio could take a few minutes, and you might be asked to sign in, if you do not have an account, go ahead and create one, or explore the other options provided to you. You should be able to create a free personal account to use visual studio)
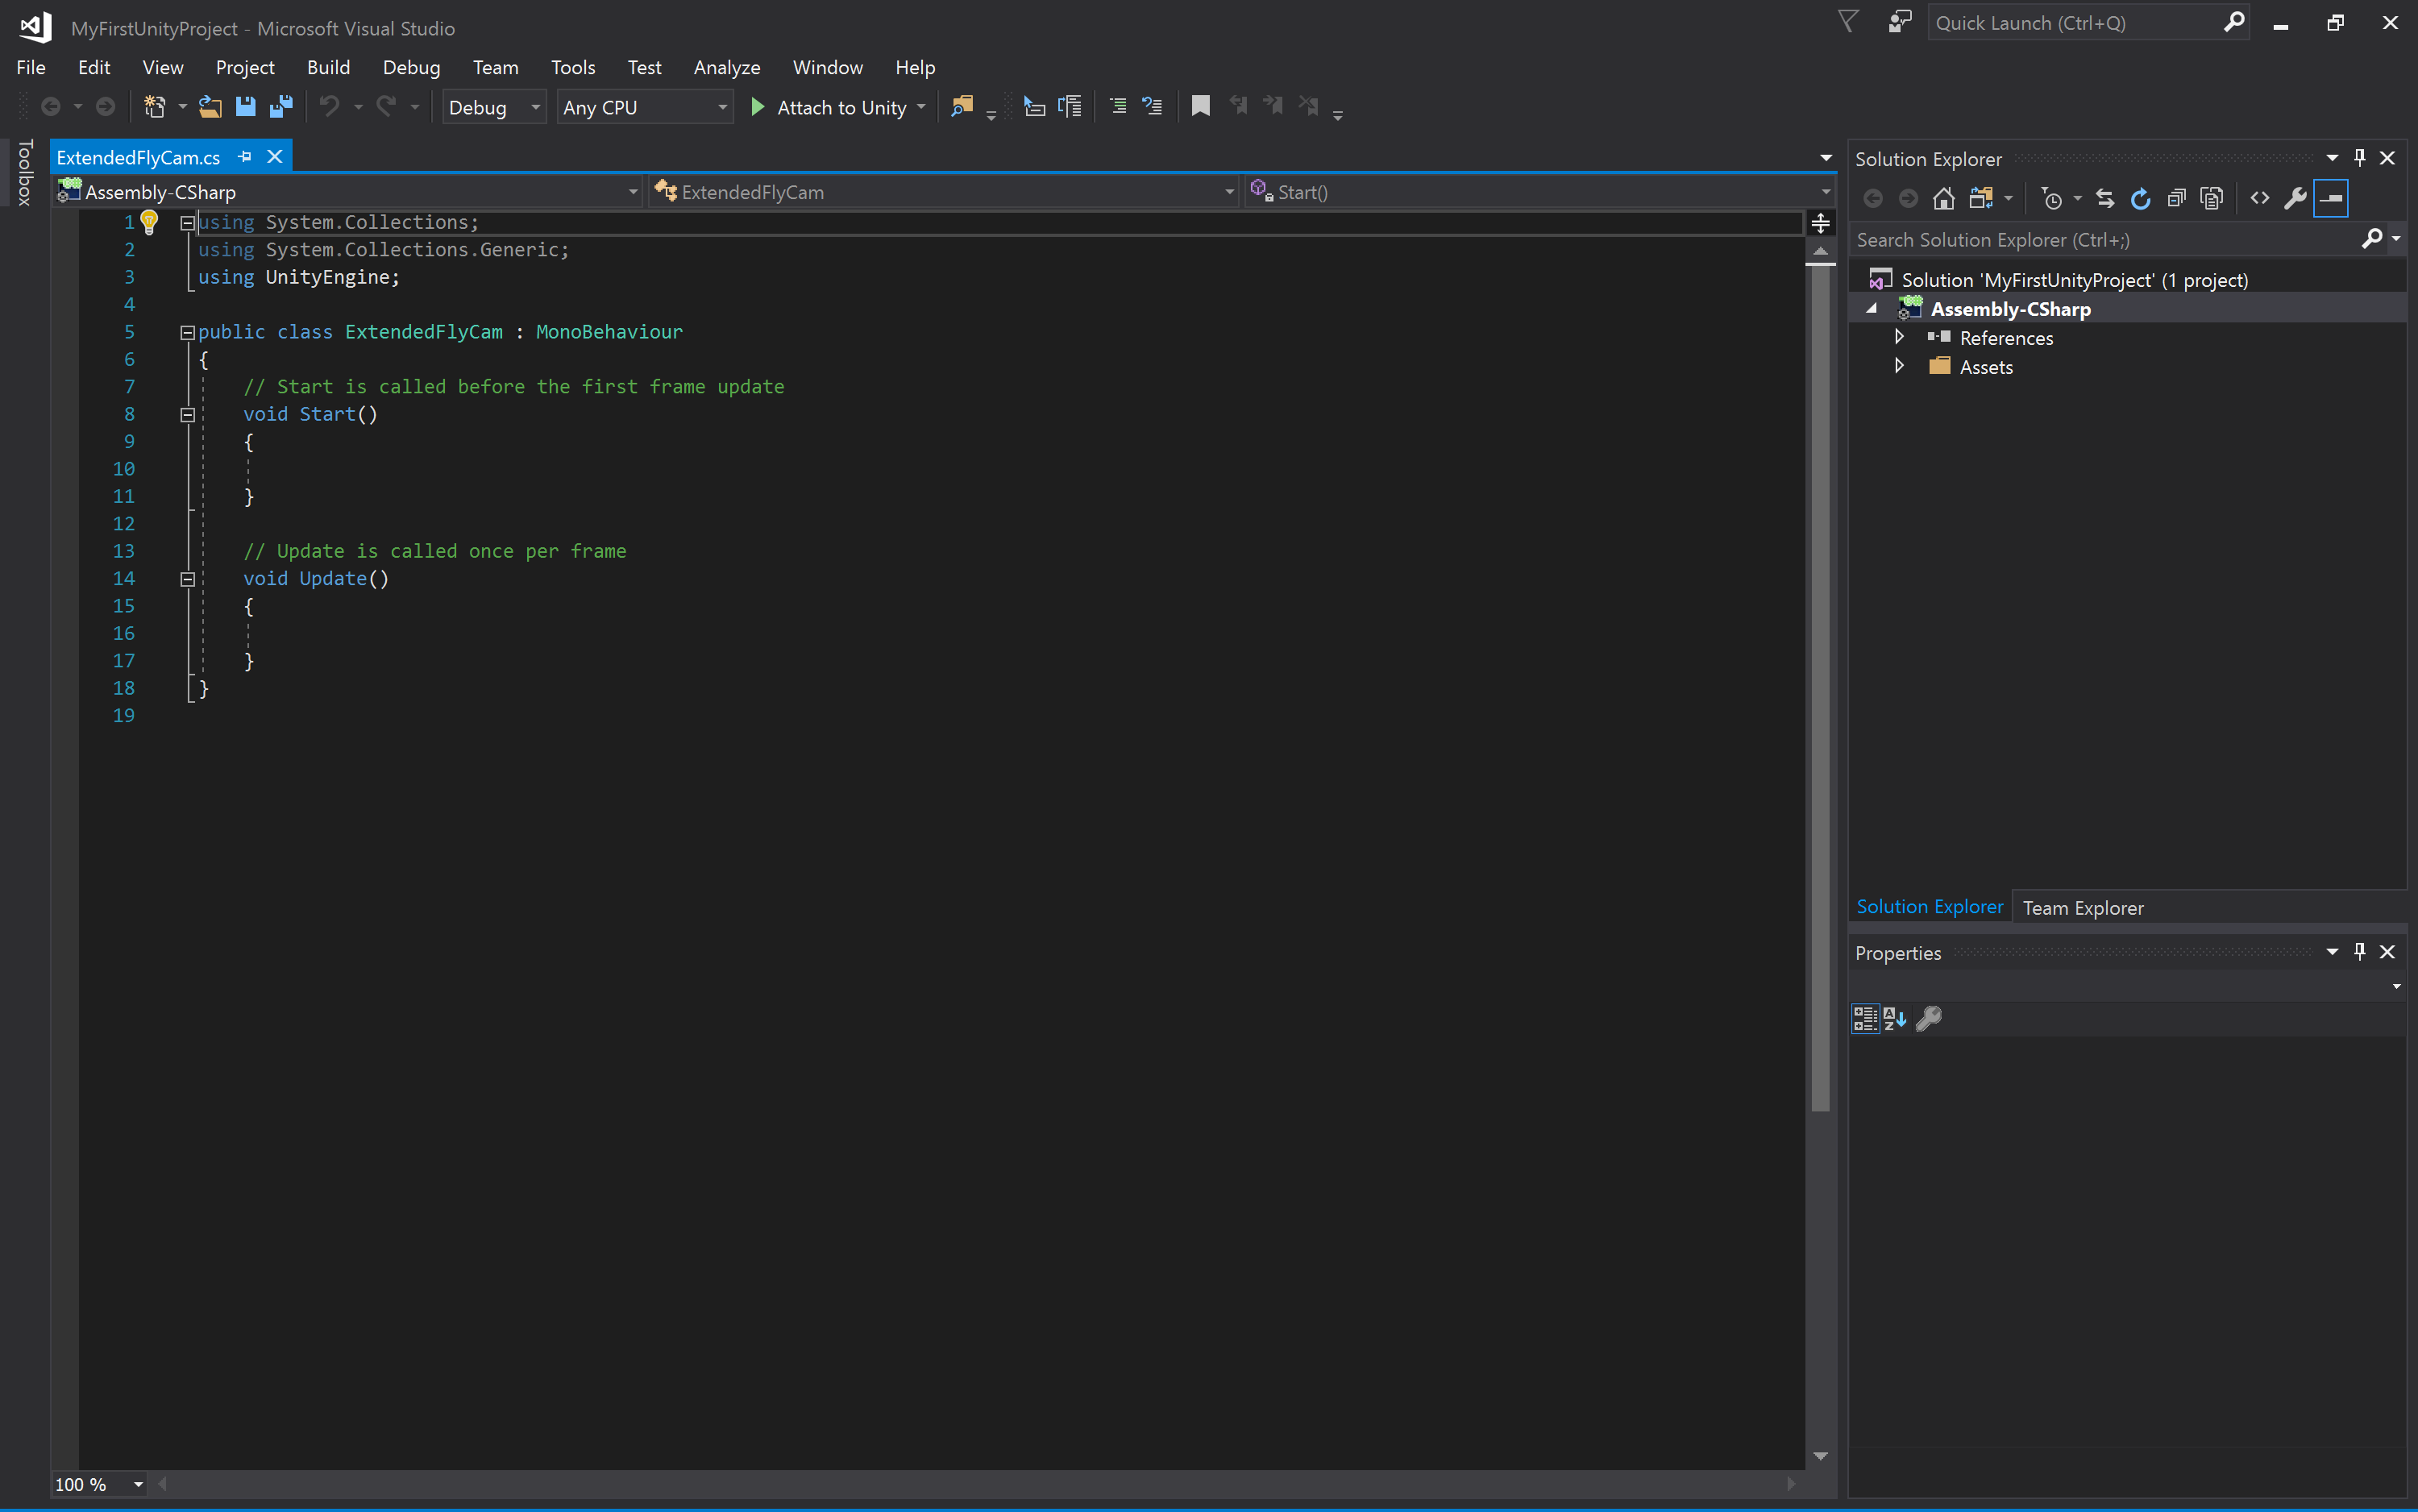 Credit: Visual Studio
 - 6.3 You now see the template code in Visual Studio. Select everything and delete it so that you get an empty document. Then use copy & paste to copy the entire code from the text file you downloaded in the browser into the script window in Visual Studio. Press CTRL+S to save the changes, then switch back to Unity. Unity may report some warnings because some of the code uses deprecated functions but let’s ignore that here.
- 6.4 We now need to attach the script as a component to the “MainCamera” object. To do so, you can simply, select the “MainCamera” object and then drag the script from the Assets pane to the free area in the Inspector Window where the “Add Component” button is located. The script now appears as “Extended Flycam (Script)” in the Inspector Window and here you see the variables we talked about at the beginning exposed as parameters.
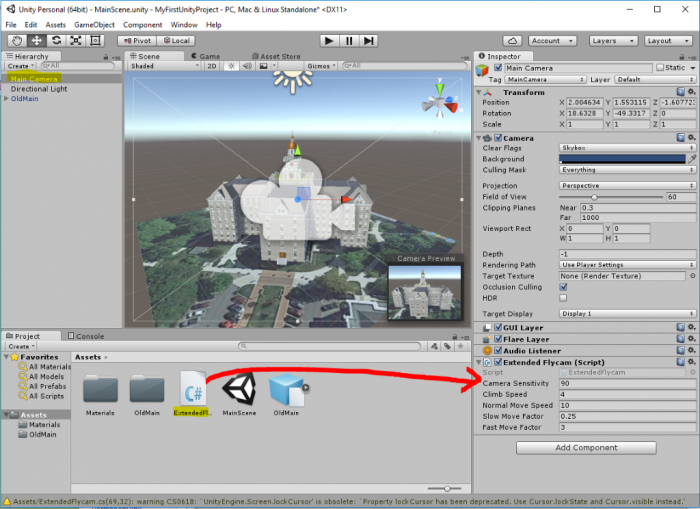 Credit: Unity 3D
 - 6.5 It is now time to give this a try: Please enter Play Mode. You should immediately be able to turn the camera with the mouse and move the camera forward, backward, and sideways using the keys W, S, A, D or alternatively by using the cursor keys.
So you can now move the camera around the building (and actually also below it or into the model). The control is maybe a bit sensitive, so you may want to change some of the parameters of the camera script a bit (e.g. sensitivity and move speed). Just play around with the values. Since the mouse is now taken for the camera control, the best way to exit Play Mode is by pressing CTRL+P. - Now build a Windows application to share with your instructor for your assignment. Make sure that you zip the folder before you upload it.