Unity Interface and Basic Unity Concepts
Introduction
A Unity project consists of one or more Scenes and each Scene is formed by a set of GameObjects located in the Scene. The name GameObject obviously is based in Unity’s main purpose as a game engine but these entities can be anything that we would want in a 3D application: 3D models of buildings, terrain, lighting sources, cameras, avatars, etc. They can also be non-physical things, in particular, abstract entities just serving as containers for scripts that perform some function such as realizing changes in the environment when the 3D application is executed. The main programming language used to write scripts in Unity is C#.
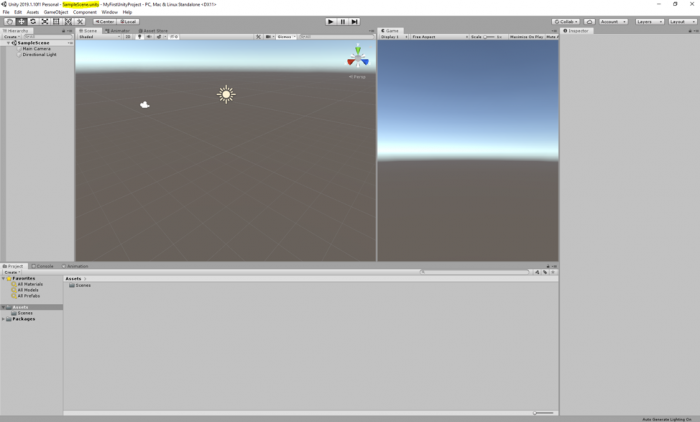
When editing a project in Unity as well as when executing a Unity project, only one Scene is active at any given moment. Each Scene has a name and you can see the name of the currently active Scene in the title bar: There are four parts separated by hyphens, the version of Unity, the name of the Scene, the name of the project, and the platform currently chosen to build the Unity project for. The Scene name part right now will be “SampleScene” as this is a default scene automatically create by Unity whenever a new project is created.
In a computer game built in Unity, each level would be a different Scene. In addition, things like cut scenes and menu screens would also be realized as individual Scenes. The game code will then have to implement the logic for switching between the Scenes. Similarly, in a non-game 3D application, you could also have several Scenes to switch between different environments, e.g. an outdoor model and several indoor models.
To give you an example of having more than one scene in a project, as well as how a scene can be populated with gameobjects, we have prepared for you a unity package that contains a scene called “Main”, populated with terrain, and a few classic buildings of the PSU campus in State College. Download this Unity Package. Once the download is complete, simply double click on it, and an import window inside the Unity editor will pop up showing the folder structure inside the package. By default, all the folders should be selected. Click on import, and all the selected folders will be added to the “Assets” structure of your project. If you receive a warning saying that the package was exported using an earlier version of unity, simply click on "Continue".
This is a relatively large package (almost 200MB), and therefore it could take a while before the import is complete.
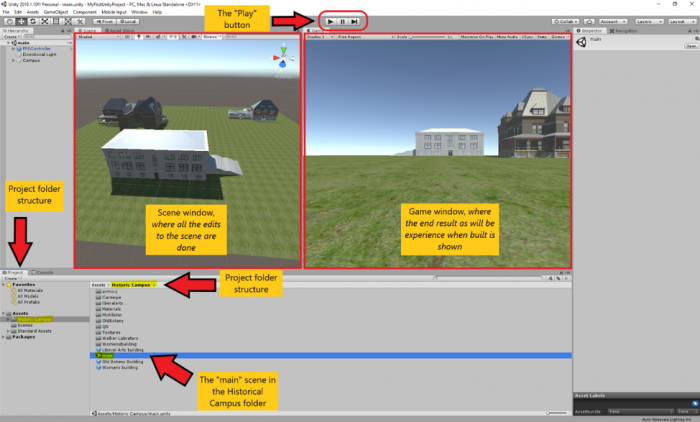
Once the import is finished, you may notice that a new folder called “Historic Campus” is added to your project folder structure under Assets (highlighted in the figure below). In addition, another folder with the title “Standard Assets” is also added, which is a collection of ready-to-use assets provided by Unity to speed up development time. The standard assets folder contains a “first-person controller” prefab that is used in the historical campus scene.
This folder structure is used to organize the resources of your project. It is good practice to organize your files into folders based on some meaningful structure and add a sensible title to the folders.
If you select the “Historic Campus” folder with your mouse, you can see that its contents are listed on the down-center part of the project panel in the editor. This is another way to view and navigate your project folder structure. There are several subfolders inside the Historic Campus folder that contain the 3D models, textures, and other resources used in the scene. To open the imported scene of the historical campus, simply double-click on the “main” scene. We will this scene to go over the basics of unity.
If you click on the small “Play” button on the top center of the editor (alternatively you can use the “Ctrl + P” shortcut), you can run the scene and see it in action. Currently, the scene has three buildings, a simple flat plane, and a first-person controller. Use your mouse to look around, and the WASD keys to navigate the environment. Once you are done experimenting, you can stop the scene from running by either clicking on the play button again or pressing “Ctrl + P”.