Setting the Z-Stop is broken up into three parts:
Part I. Fast approach.
The goal of this part is to take a good chunk of the Z travel out of the way. Set the Z motor speed to fast, press the Z-Stop button until it is blinking red, and come down until the objective/sample distance is about 1 inch (~25mm).
Set motor speed to FAST and Press Z-Stop till blinking red.
Lower the objective to ~1 inch (25mm) from the surface of the sample.
Keep an eye on the gap; keep an eye on the other objectives.
Part II. Medium approach.
The goal of this part is to SLOW DOWN and get the objective working distance below the surface of the sample being measured. Set the Z-motor speed to medium; leave the Z-stop blinking red.
Set the Z-motor speed to MEDIUM, leave Z-Stop blinking red.
Lower the objective until the working distance of the lens is lower than the sample surface.
Keep an eye on the gap; keep an eye on the other objectives.
Part III. Set the Z-Stop.
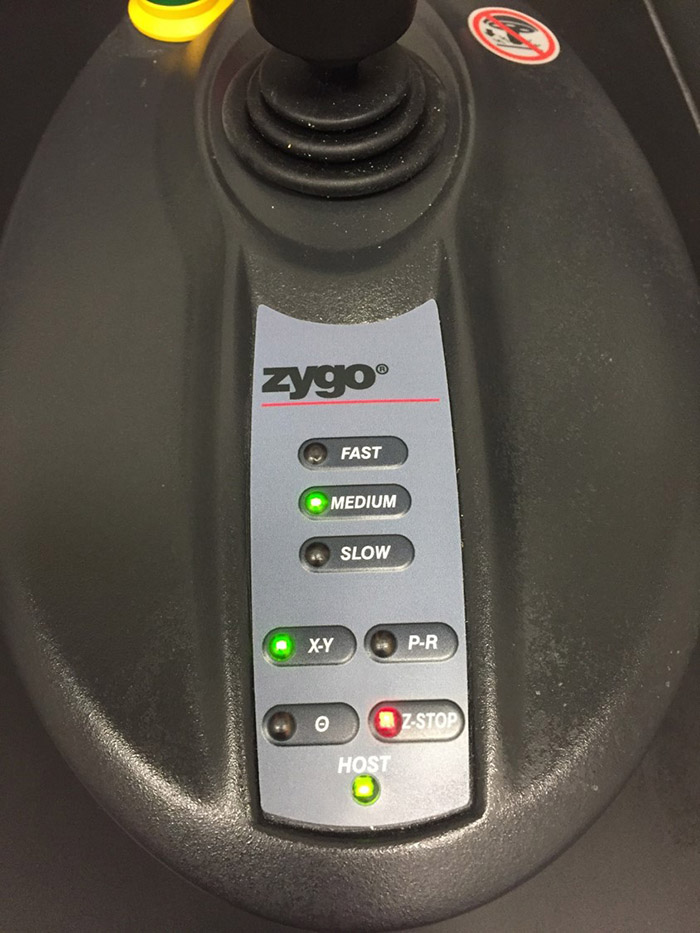
Press Z-Stop once so it is now solid red.