Creating the Camera Animation
Now we are going to create the camera flight path. First, we are going to create a new Animation entity for the camera flight in our project Assets and link it to our Camera Setup object. Then we are going to set intermediate positions for the camera along the desired flight path. Unity will automatically interpolate between these positions so that we get a smooth flight path.
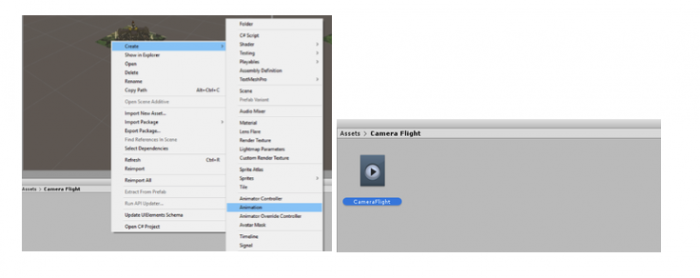
Create a new folder called “Camera Animation” under the Assets folder. Open this folder, right-click on an empty space within the folder, select Create -> Animation. This creates a new animation clip entity. Let's call it “CameraFlight”.
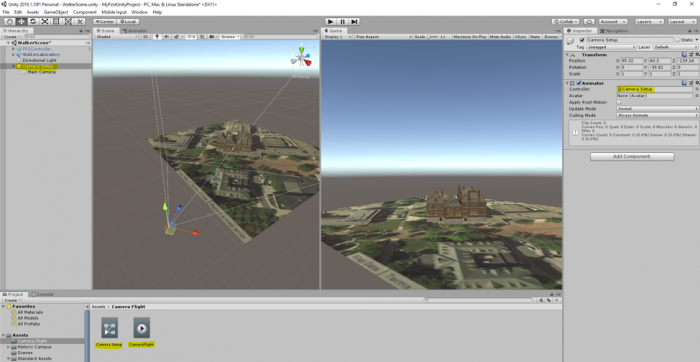
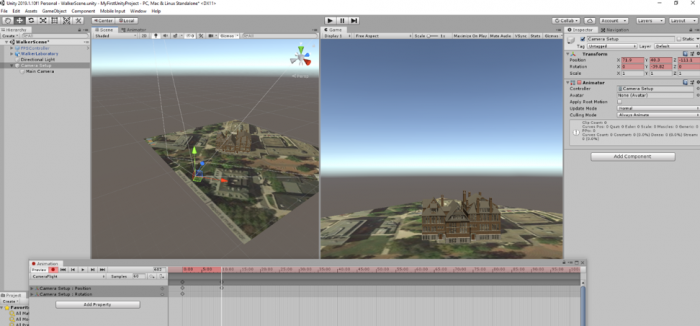
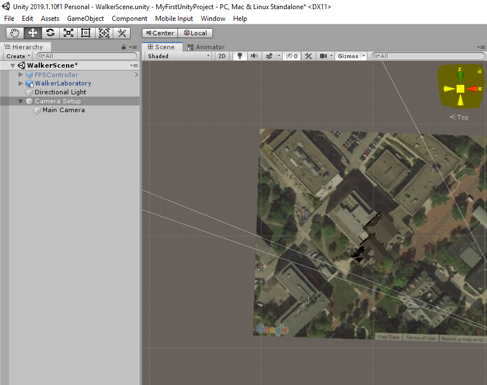
Connect the CameraFlight animation to our Camera Setup object by selecting Camera Setup in the Hierarchy Window and then dragging the CameraFlight animation from the Assets Window to the free area with the “Add Component” button in the Inspector Window (you have seen examples of adding elements and components to GameObjects using this method in previous videos). After doing so, the Inspector Window should show the newly attached Animator component as in the screenshot below. In addition, a new Animator object called "Camera Setup.controller" will automatically appear in the Assets window.
During the next steps, make sure that "Camera Setup" remains selected in the Hierarchy Window. Go to "Window -> Animation -> Animation” in the menu bar to open the Animation Window which is the main tool for creating an animation.
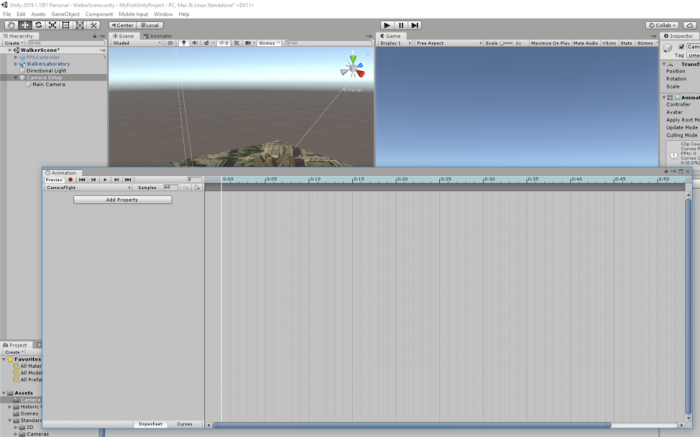
Let us first make a few adjustments to the Animation Window to make things easier. At the top right, you can see the timeline for the animation. 1:00 means one second into the animation. You need to have the mouse cursor in the lower right part of the window and then turn the mouse wheel to adjust the timeline. Our animation should probably be around 1 minute long. So set it up so that the timeline goes until at least 60:00 seconds (= 1 minute). It is a good idea to make the Animation Window as wide as possible.
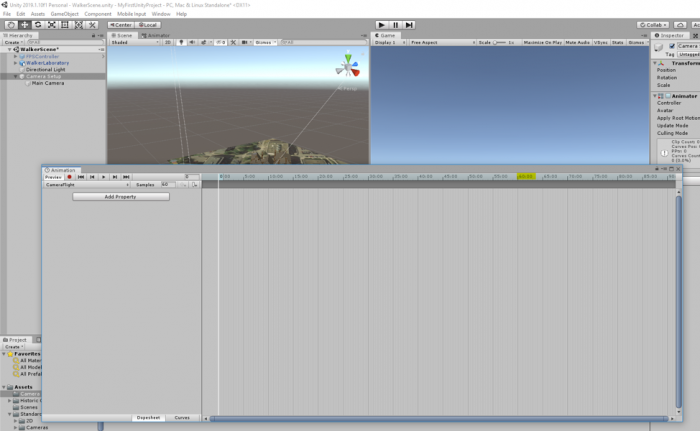
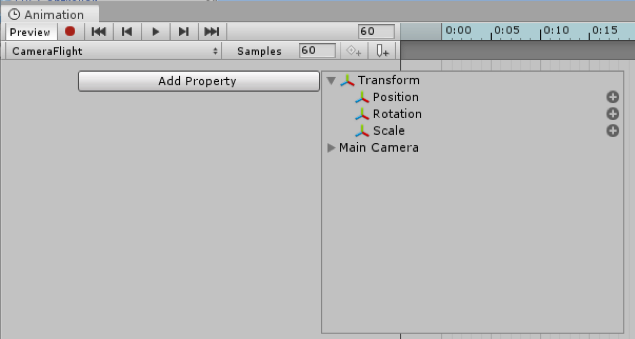
Now let’s clearly specify which properties we want to animate in our animation, namely the position and rotation values of our Camera Setup object. You will have to use the "Add Property" button twice to add the Position and Rotation, respectively. Press “Add Property”, then unfold the “Transform” entry, and use the + button to add Position and after that Rotation to the list. The result should look like in the second image below:

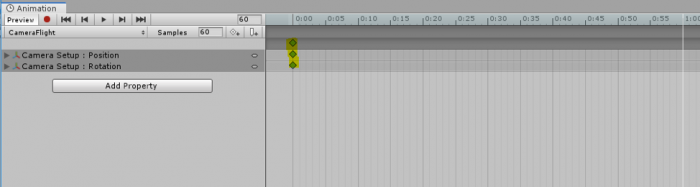
The diamond symbols below the timeline are the keyframes, which we will use to define intermediate positions and orientations for the camera along the flight path. As you can see, Unity has automatically created two keyframes, a start frame at 0:00 and another one at 1:00. You can select a keyframe by clicking on the upper diamond (the one that is in the darker gray bar, the selected keyframe is shown in blue) and you can drag it to the left or right to change the time when it will occur. You can delete a key frame by right-clicking the diamond and then selecting "Delete Keys". That's what we want to do here so that we end up with only the start keyframe like in the figure below:
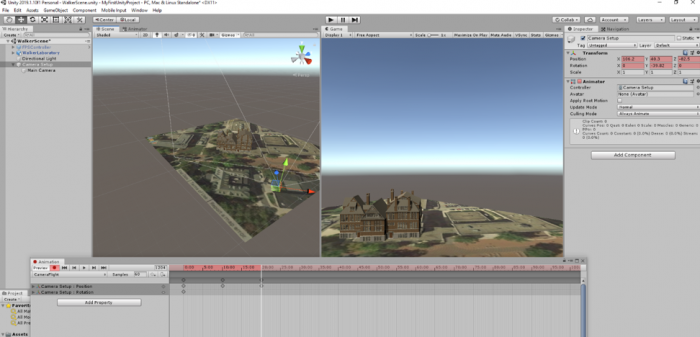
The red record button on the top left determines whether changes will be recorded for the position in the animation where the vertical white bar is located which will result in a new keyframe being added at that position. When record is on, the position and rotation properties of the Camera Setup will turn red. Do a left-click at 10:00 in the timeline to move the white vertical bar to that position.

Now let's create a second keyframe at 10:00 and record it. Press on the record button (the red circle in the animation window) and then use the move or rotate tools to change the position and rotation of the Camera Setup GameObject in the scene. Note that all the changes you are making to the position and rotation of the camera will happen in 10 seconds, as this is the limit we have specified for this frame. Once you are happy with the changes, stop the recording.
Repeat the same process to add another keyframe every 10 seconds and make another recording.
You can use the perspective gizmo at the top right of the Scene Window to quickly switch between the top-down and side view of the view, which can be very helpful here.
You can now click the Play button  in the Animation window (not the main Play button at the top!) and Unity will now show you the animation between the first and second keyframe in the Game Window. Press the button again to stop the animation.
Before continuing, make again sure that you have Camera Setup selected in the Hierarchy and that recording in the Animation window is turned on (record button with a red dot is highlighted).
Now continue with this to build a camera animation of 60 seconds with 7 keyframes in total, one every 10 seconds. For each of the keyframes move the view to the next corner of Old Main. The last keyframe at 60:00 should be roughly identical to the very first one, meaning you should move "Camera Setup" away from the building again.
The final animation should look similar to the one in this 360° video (producing such a 360° video from the animation is described later in this lesson). Creating such animation can be a bit tricky at first but you will get used to it quickly. Don't worry if the orbit around the building isn't perfect. This is ok because we are only using very few intermediate keyframes here. You can try to improve on this in your homework assignment. If something goes completely wrong, you can always delete the last few keyframes using "right-click -> Delete Keys". Here are a few additional hints that you may find helpful:
- Don’t forget to save your project after each successful step and remember that you can take steps back using CTRL+Z. It's also recommended to make backup copies of the entire project folder after each major step. This allows for going back to an earlier version if something goes completely wrong.
- Also, remember that you can shift keyframes back and forth in time by dragging them along the dark gray bar.
- If you just want to preview parts of your animation instead of everything from beginning to end, you can place the white vertical bar by clicking into the timeline and then the preview with will start at that position.
- If the camera gets very close to the building and the front side polygons of the building are getting clipped, you can try to fix this by setting the "Clipping Planes -> Near" property of the "Main Camera" object (child of "Camera Setup") from 0.3 to 0.01 in the Inspector Window.