Importing 360 Capture Assets and Capturing Images
Import the unity package (link in previous page) into your “MyFirstUnityProject” project. When done, a new folder called “360 Capture” will be added to your project folder structure. This folder contains a script and three Render Texture objects (one for each eye and one that merges them together). The script will capture the camera output and renders it on the textures. To set up our scene for capturing, add the script “CreateStereoCubemaps” to the Main Camera object (i.e. child of Camera Setup) by dragging the script onto it.
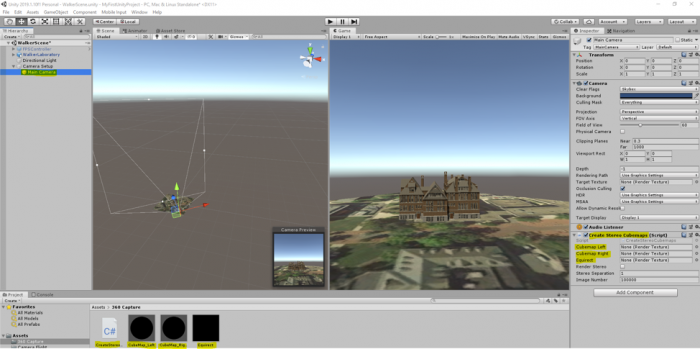
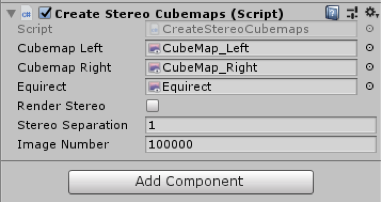
You will notice that in the inspector panel of the Main Camera GameObject there are three empty fields “Cubemap Left”, “Cubemap Right”, and “Equirect”. Will need to populate these fields with our textures in the “360 capture” folder. Drag the corresponding texture to the right place holder in the inspector panel of Main Camera as shown in the figure below:
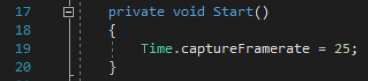
Next, double click on the “CreateStereoCubemaps” script to open it in visual studio. In the start function of this script (as shown in the figure below), you can see that we have instructed Unity to capture 25 frames per second.
You do not need to study the rest of the script (unless you are interested in doing so), but to give you a general idea, we are capturing 25 monoscopic frames per second of the entire scene and saving each frame as a PNG file somewhere on our drive. Since the address of where the images are to be saved is hard-coded, you need to modify it to point to a location where you want the monoscopic images to be saved. On line 67, we have indicated this address (the orange text between the “ ”) along with a line of comment that tells you how to modify it (make sure you save the file after you have modified the address).

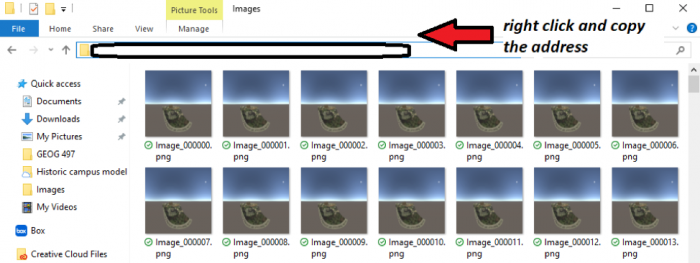
One easy way to update this address is to create a folder somewhere on your hard drive (you will need at least 1.5 GB of free space). Inside the folder click on the address bar on top and copy the address.
Make sure that the “\” in the address you have copied are replaced with “\\” when you replace it with the orange text in between “”.
Now if you play the scene, depending on the specifications of your computer system, the scene will perform differently. Since we are forcing Unity to capture 25 frames per second, the camera flight animation we’ve just created might not run very smoothly on older computers. If you play your scene now and notice lots of lagging, do NOT be alarmed. Let the camera flight animation finish (it could take a while on slower computers so be patient!), and then stop the scene from playing.
Now if you navigate to the folder, where you have instructed the script to save the PNG files, you will see that it is populated with around 1400-1500 images.