Creating the Video
We now want to produce an MP4 movie from the individual 360° images. We will use the free command-line tool ffmpeg for this.
You can download a Windows build of the ffmpeg.
Extract the downloaded .zip and you get a folder with a bunch of files in it (similar to the image below). Make sure there are not two folders with the same name inside each other. The main executable ffmpeg.exe is located in the bin subfolder. We will directly run this .exe file, no installation is needed.

To be able to use the ffmpeg.exe as a command-line tool, let’s open a command prompt. Click on Windows and search cmd. Open cmd. You need to navigate to the location where you have extracted the content of the zip file. This is a very simple process.
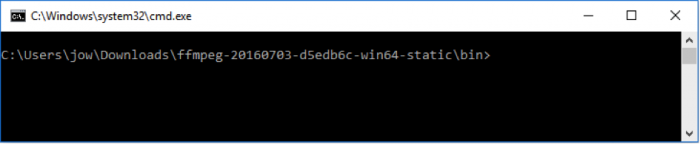
For example, I have extracted the contents of the zip file (i.e., the folder named ffmpeg-20210331-6ef5d8ca86-win64-static) to my desktop. What I need to do is to first open the command prompt. This can be done by clicking on the start button on the windows bar and type "command prompt". By default, the command prompt is at the root location for the current user of the OS (e.g., C:\Users\Pejman>). Now I need to access to the folder we have extracted to the desktop. To do so, you need to type:
cd desktop
and then press enter.
This simple command with navigating the command prompt to the desktop folder of your computer. Using a similar approach, we need to access the "ffmpeg-20210331-6ef5d8ca86-win64-static" folder. Now instead of typing the complete name of this folder which is rather long, you can simply type cd followed by a few letters of the folder name (i.e., ffmpe..) and then press the tab key on your keyboard. This will autocomplete the name based on what can be found on the desktop. The next step is to go to the bin folder using the same method. At the end of this process, you should be at this location within the command prompt:

For more help, please visit Digital Citizen.
The command that you need to type in now to have ffmpeg create a movie is given below, but you will have to make some small changes to adapt it to your system: The highlighted part needs to be replaced with the path to your folder where the images are saved. (In case you start by copy & pasting the command from this web page into the command prompt rather than typing it yourself, please check that the double quotes appear as straight double quotes, not curly ones and you also may have to retype hyphens and underscores as well. The safest approach is to type the complete command yourself, or paste it into a notepad and copy it from the notepad.). The last part of the address, namely “Image_%06d.png” is a pointer to the first image in this folder, and the program will then iterate through all the images based on this starting point. You do NOT need to change this last part.
ffmpeg.exe -r 25 -start_number 100000 -i "C:\Users\jow\Documents\UnityProjects\MyFirstUnityProject\LSCaptureFiles\Image_%06d.png" -vcodec libx264 -crf 15 -pix_fmt yuv420p myfirstunityproject.mp4
In the command, we tell ffmpeg that the produced video should use 25 frames per second, where the images are located and the pattern for how they are named, which video codec to use, etc. The final parameter is the name of the output file (myfirstunityproject.mp4) that will be generated. When you execute the modified command (by pressing enter), ffmpeg should start to process the images and create the MP4 video. Remember there are about 1400 frames.
When ffmpeg is done, there should now be a file called myfirstunityproject.mp4 in the bin subfolder of ffmpeg. You can move this file, for instance into your Documents folder.
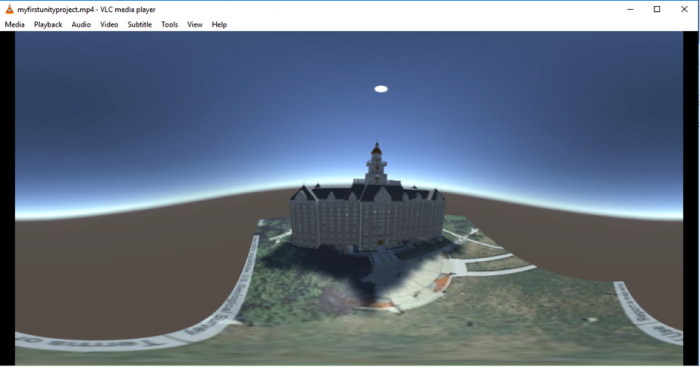
Now run the video and have a look. If your standard video player is not able to display the video, we recommend that you go to VideoLan to download and install VLC, a great and free video player, and then watch the video with this program.