Try This!
Landsat is the earliest and most enduring mission to produce Earth imagery for civilian applications. The U.S. National Aeronautics and Space Administration (NASA) and Department of Interior worked together to launch the first Earth Resource Technology Satellite (ERTS-1) in 1972. When the second satellite lifted off in 1975, NASA renamed the program Landsat. Landsat sensors have been producing medium-resolution imagery more or less continuously since then. We'll look into the most recent sensor system - Landsat 8 - later in this chapter. Meanwhile, let's see what we can learn from Landsat data and applications about the nature of remotely sensing image data.
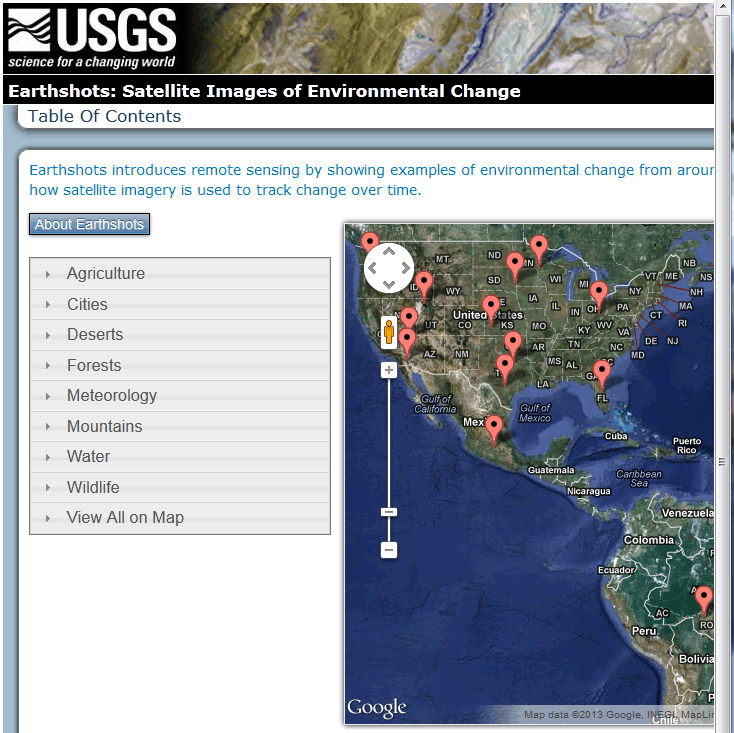
This activity involves a site visit to Earthshots, a website created by the USGS to publicize the many contributions of remote sensing to environmental science. We've been sending students to Earthshots for years. However, USGS has recently revised the site to make it more layman-friendly. The new site is less useful, but fortunately the older pages were archived and are still available. So, after taking you briefly to the new Earthshots homepage, we'll direct you to the older pages that are more instructive.
1. To begin, point your browser to the newer Earthshots site. Go ahead and look around the site. Note the information found by following the About Earthshots button.
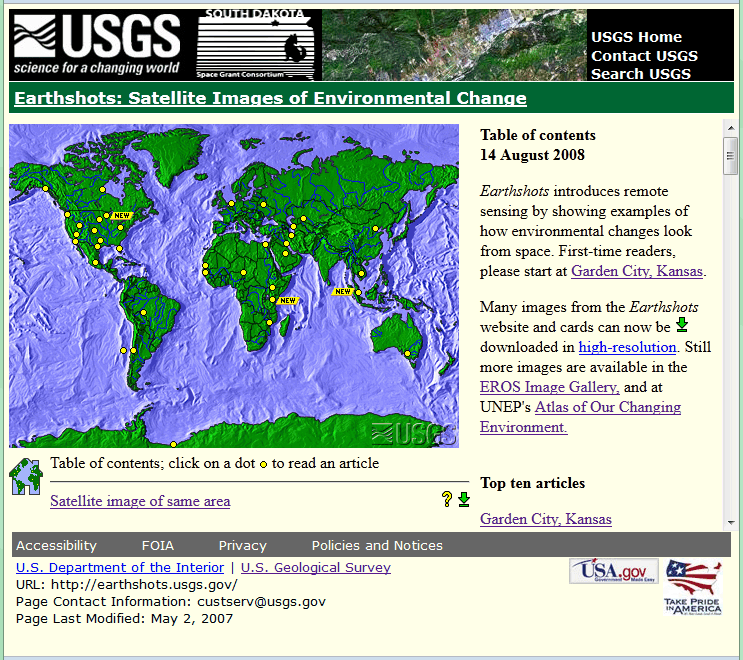
2. Next, go to the archived older version of the USGS Earthshots site.
3. View images produced from Landsat data. Follow the link to the Garden City, Kansas example. You'll be presented with an image created from Landsat data of Garden City, Kansas in 1972. By clicking the date link below the lower left corner of the image, you can compare images produced from Landsat data collected in 1972 and 1988.
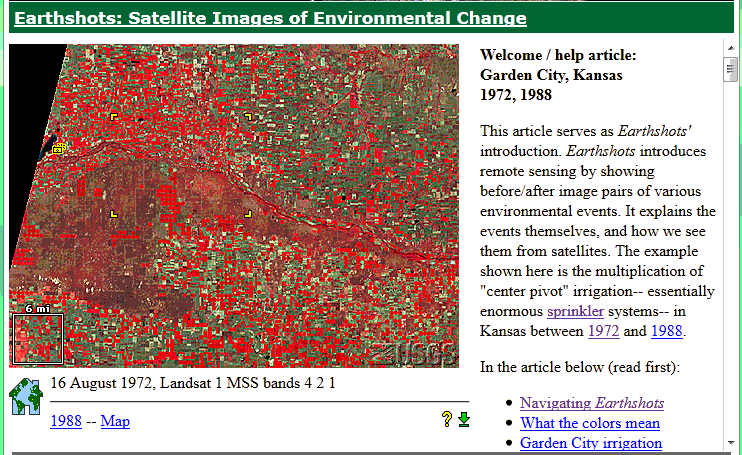
4. Zoom in to a portion of the image. Four yellow corner ticks outline a portion of the image that is linked to a magnified view. Click within the ticks to view the magnified image.
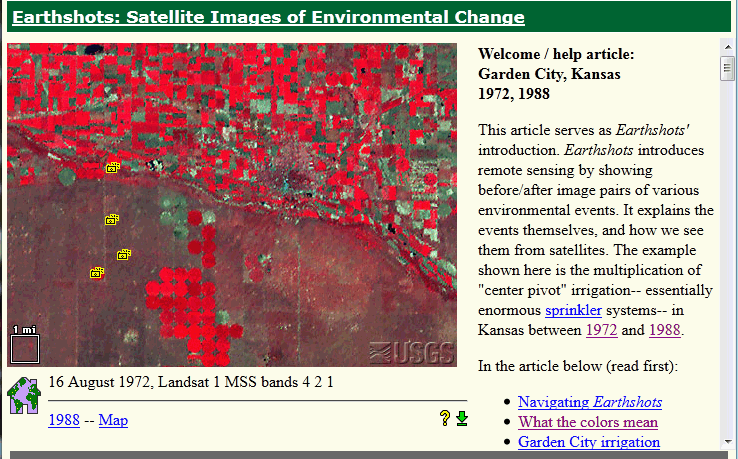
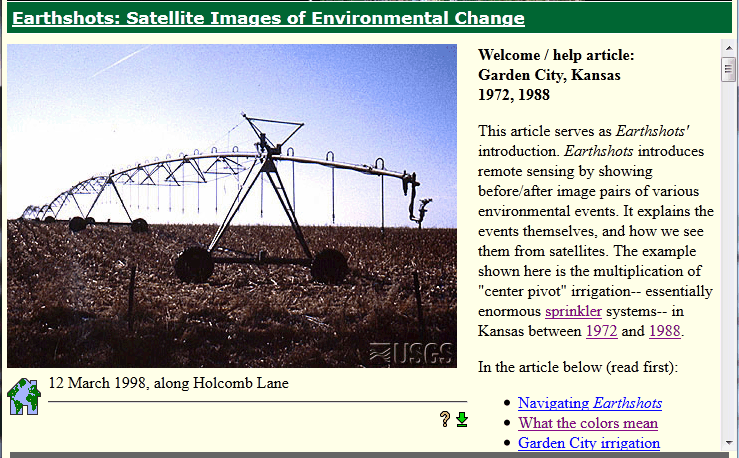
5. View a photograph taken on the ground. Click on one of the little camera icons arranged one above the other in the western quarter of the image. A photograph taken on the ground will appear.
6. Explore articles linked to the example. Find answers to the following questions in the related articles entitled What the colors mean, How images represent Landsat data, MSS and TM bands, and Beyond looking at pictures.
- What is the spectral sensitivity of the Landsat MSS sensor used to captured the image data?
- Which wavelength bands are represented in the image?
- What does the red color signify?
- How was "contrast stretching" used to enhance the images?
- What is the spatial resolution of the MSS data from which the images were produced?